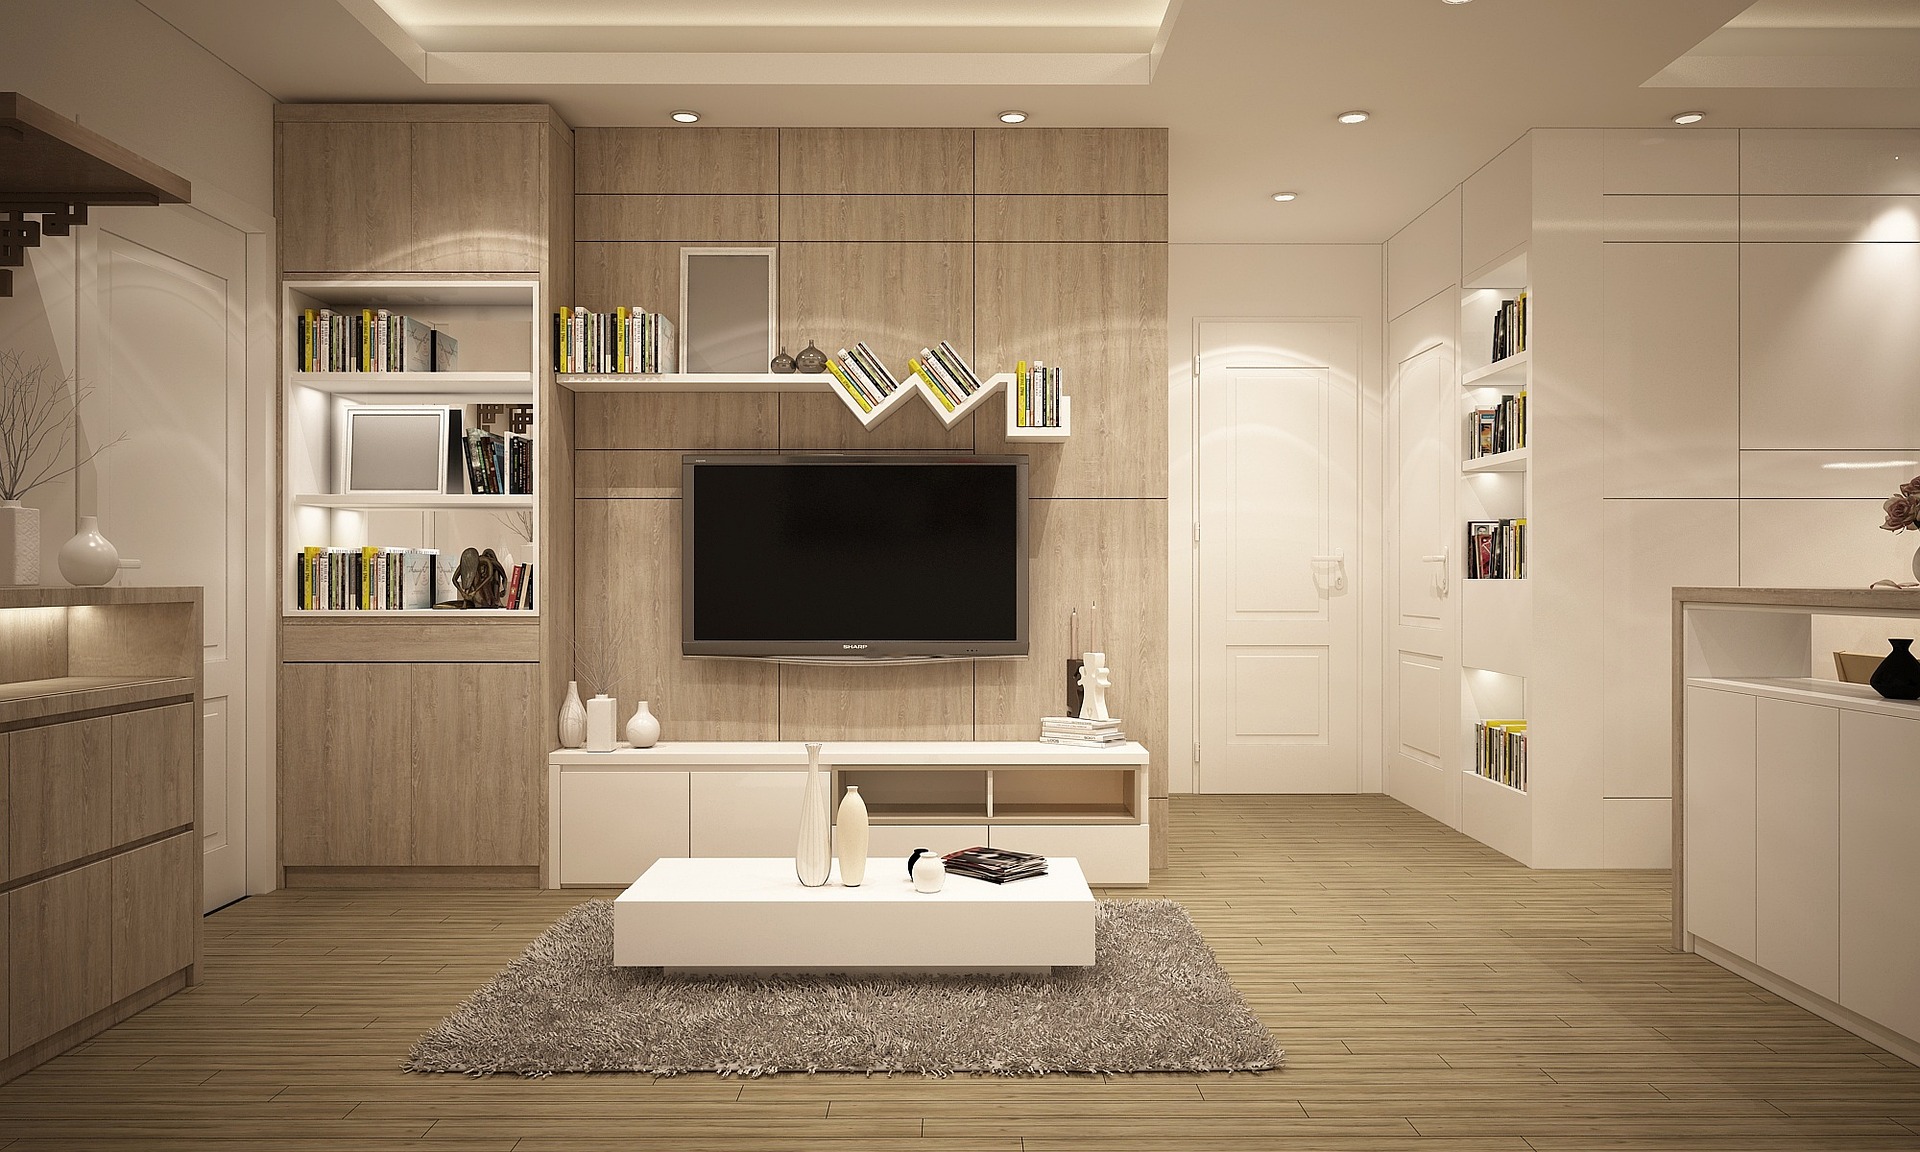
A newly built house can be structurally new and still feel unfinished. Builder-selected finishes are often designed to be practical and broadly appealing, not necessarily tailored to the way your household cooks, works, stores things, relaxes, or entertains.
That makes a new build an unusual renovation project. With an older property, much of the budget may go toward repairing what is worn out. With a new house, the opportunity is different: correct defects while they are still covered, improve the infrastructure that is difficult to change later, and then personalize the visible finishes.
The order matters. Repainting a room and then opening the ceiling for new wiring is wasted effort. Installing new flooring before built-in carpentry can mean protecting or repairing a finish that should have been installed later.
This guide lays out a practical sequence for turning a builder-finished house into a home that works better for the people living in it.
1. Do a Full Walkthrough Before Renovating
The first stage should be observation, not demolition. If the house is already habitable, spend a little time using it before making major cosmetic decisions. Notice where you naturally leave keys, bags, shoes, chargers, kitchen equipment, and laundry. Pay attention to rooms that become too hot or too dark at certain times of day. A floor plan can show dimensions, but it cannot tell you that the kitchen work triangle feels awkward at dinner time or that the bedroom needs another outlet beside the bed.
Create a room-by-room list with four headings:
- Defects: things that appear incorrectly installed or damaged.
- Function: things that make everyday life inconvenient.
- Infrastructure: electrical, plumbing, ventilation, networking, or similar changes.
- Appearance: paint, flooring, hardware, lighting, furniture, and décor.
Do not mix these categories together. They will determine the order in which you spend your money.
2. Check the Builder’s Defects and Warranty First
Before paying a contractor to repair anything, check what the builder is responsible for. Depending on the builder, contract, and location, a new house may have a defects period or warranty covering certain workmanship, materials, or installed systems. The exact coverage varies, so read the documents supplied with the property rather than assuming a particular repair is covered.
Walk through the house in daylight and look for:
- doors or cabinets that do not close properly
- leaking or poorly draining fixtures
- cracked or loose tiles
- uneven paint or visible finishing defects
- damaged trim or flooring
- poorly sealed windows or wet areas
- outlets, switches, or lights that do not operate correctly
- drainage or gutter problems around the exterior
Photograph defects and keep a dated written list. Report warranty issues through the builder’s required process before altering the affected area yourself. This is one of the highest-value steps in a new-build renovation because you may be able to have legitimate defects corrected without using your renovation budget.
3. Build a Budget in Three Stages
New homeowners often create a long wish list and then discover that the budget cannot support it. A better approach is to divide the project into stages.
Stage 1: Do before or soon after moving in
Prioritize work that becomes difficult or expensive after the house is furnished:
- additional electrical points
- plumbing changes
- built-in wardrobes
- major flooring changes
- kitchen modifications
- ventilation improvements
- wall or ceiling work
Stage 2: Improve within the first year
These projects can usually wait while you learn how the house behaves:
- landscaping
- feature walls
- selected lighting upgrades
- storage improvements
- smart-home additions
- curtains and window treatments
Stage 3: Future projects
Leave large discretionary projects until the house and household budget have had time to settle:

- major outdoor entertaining areas
- home theater
- extensive custom cabinetry
- substantial layout changes
Keep a contingency amount rather than committing the entire budget to planned work. The appropriate percentage depends on the project’s complexity and local costs; the important point is to leave room for discoveries and changes.
4. Decide What Must Be Changed Before the Walls Are Closed
The most expensive mistakes in a new build are often invisible. If you know you want additional outlets, dedicated power for appliances, networking points, security wiring, or other concealed services, investigate those requirements before walls and ceilings are difficult to access.
Electrical
Walk through each room and consider how it will actually be used. A bedroom may need convenient outlets on both sides of the bed. A home office may need several outlets around the desk rather than one hidden behind furniture. A television wall may need power and cable management planned together. A kitchen may need dedicated circuits or connections for particular appliances.
Electrical work should be planned and installed by a qualified professional according to the applicable local requirements.
Plumbing
Think ahead about anything that may require water or drainage. Examples can include an additional outdoor tap, water filtration, appliance connections, or changes to a bathroom fixture. Even a small plumbing change can involve opening finished surfaces, so it belongs near the beginning of the renovation sequence.
Networking and other concealed services
If you expect to use wired networking, security cameras, speakers, or similar systems, discuss pathways and access points before closing walls. Even when you are not installing the equipment immediately, planning accessible routes can make future work easier.
5. Check Ventilation Before Decorating
Ventilation is easy to overlook because it is less visually exciting than paint or lighting. Bathrooms and kitchens need appropriate ventilation, and the exact requirements depend on the building, climate, equipment, and local code. Check whether existing exhaust systems actually serve the areas that need them and whether exterior ducting is installed appropriately.
Do not simply add a more powerful fan without considering the existing ductwork and installation requirements. A ventilation problem is an infrastructure issue, not a décor problem.
6. Renovate the Kitchen Without Automatically Replacing It
A new kitchen does not necessarily need a new kitchen. Before replacing cabinets or counters, identify the parts that genuinely limit the way you use the space. A relatively small upgrade may include:
- better cabinet hardware
- soft-close hinges or drawer slides where compatible
- improved drawer organization
- pull-out storage in awkward cabinets
- better task lighting
- a more useful pantry arrangement
- a backsplash where one is appropriate
- a faucet or fixture upgrade where compatibility allows
Measure existing cabinet openings before ordering organizers or replacement hardware. A product that looks suitable in a photograph may not fit around hinges, plumbing, drawer boxes, or internal supports. If the cabinet boxes, worktops, and layout are already good, preserving them can free more of the budget for the changes you will actually notice every day.
7. Treat Bathrooms as a Compatibility Project
Bathrooms are another area where targeted improvements can produce a large visual change without a complete demolition. Consider:
- vanity lighting
- mirror or mirrored storage
- cabinet hardware
- towel storage
- shower fittings
- exhaust ventilation
- selected faucets and accessories
Before changing plumbing fixtures, check connection sizes, mounting requirements, available water pressure, and compatibility with the existing installation. Product descriptions do not replace measuring the actual bathroom. For a new build, keeping a sound tile layout and cabinet structure can make more sense than removing everything simply because the fixtures look basic.
8. Plan Flooring Before Built-In Furniture
Flooring decisions should be made early, especially when the floor will run underneath or meet built-in cabinets and wardrobes. If the existing flooring is acceptable, do not replace it simply because the house is new and looks generic. First ask whether it has a practical problem: poor durability, an unsuitable finish, difficult maintenance, or a style that genuinely conflicts with your long-term plan.
If you are replacing it, decide the flooring material and installation approach before commissioning built-ins. The correct sequence depends on the material and the contractor’s installation requirements, so coordinate the two trades rather than assuming every flooring type follows the same rule.

9. Use Paint to Personalize the Builder’s Blank Canvas
Paint is often where a new house begins to feel personal. Instead of choosing a separate dramatic color for every room, establish a simple palette first. Consider the flooring, kitchen finishes, bathroom materials, natural light, and rooms that can be seen from one another.
For a cohesive home, choose:
- a main neutral for most connected spaces
- one or two supporting colors
- selected accent colors for bedrooms or smaller rooms
- recurring wood, metal, or textile tones
Always test samples on the actual wall. Observe them in daylight and under the room’s artificial lighting before committing to a large quantity. If walls need substantial patching or repair, complete that preparation before judging the final paint color.
10. Upgrade Lighting in Layers
Builder lighting is often adequate for basic illumination but not necessarily ideal for every activity or evening atmosphere. Think about three functions:
Ambient lighting provides general illumination.
Task lighting puts useful light where an activity takes place, such as a kitchen worktop, desk, reading chair, or bathroom vanity.
Accent lighting can emphasize artwork, shelving, architectural features, or a particular corner.
Dimmers can be useful where compatible with the lighting system, but check bulb, fixture, switch, and electrical compatibility before installation. A simple lighting plan is more useful than buying attractive fixtures one by one. Mark where light is needed first, then choose fixtures that suit those positions.
11. Do the Outside After the House’s Basic Problems Are Solved
Landscaping is an important part of a new home, but it should not automatically come before indoor infrastructure and defects. Start by checking practical issues such as:
- where roof and surface water flows
- whether downspouts discharge appropriately
- whether soil slopes away from the house where required
- where utility access needs to remain clear
- how much sun different planting areas receive
- where outdoor lighting and power may be useful
Then plan planting, lawn or ground cover, paths, seating, and decorative elements. Avoid choosing trees solely by appearance. Mature size, root behavior, climate suitability, maintenance, and distance from buildings or services all matter.
12. Follow a Logical Renovation Sequence
A useful default sequence is:
- Document builder defects and submit warranty claims.
- Finalize the renovation plan and budget.
- Complete structural or major layout changes, if any.
- Complete electrical, plumbing, networking, and ventilation work.
- Install or modify built-in cabinetry and wardrobes as required.
- Complete wall and ceiling repairs.
- Install flooring according to the chosen material and trade sequence.
- Paint and complete other surface finishes.
- Install light fixtures, switches, and hardware.
- Install curtains, furniture, rugs, and accessories.
- Complete final organization and styling.
- Finish landscaping and exterior details in coordination with outdoor trades.
The exact order can change depending on the scope and materials. The principle is simple: dirty, concealed, and difficult-to-change work should come before clean, visible, and easily replaceable work.
13. A Worked Example: A New 2,000-Square-Foot House
Imagine a newly built 2,000-square-foot house with sound builder finishes, but the owners want better storage, more useful lighting, and a stronger sense of personal style. Instead of starting with a full cosmetic renovation, their first project list might look like this: Week 1: inspection and planning Photograph defects, test every fixture, measure storage areas, review the builder warranty, and make a room-by-room problem list.
Week 2: infrastructure decisions Identify the extra outlets, lighting controls, networking points, and plumbing changes that would be difficult to add later. Week 3 onward: infrastructure and built-ins Complete approved electrical and plumbing work, followed by necessary built-in storage changes.

Next: visual finishes Choose a connected paint palette, improve lighting, and upgrade selected hardware rather than replacing every fixture. Later: Live with the house before committing to expensive furniture, major landscaping, or decorative renovations. The household’s actual routines will reveal which improvements deserve the next round of spending.
The point of this example is not the calendar. It is the decision sequence: observe → protect the warranty → plan → open walls only when necessary → finish surfaces → decorate after the practical work is known.
14. Common New-Build Renovation Mistakes
Renovating before checking the warranty
You may pay for a repair that the builder was responsible for, or alter an area before documenting a defect.
Buying furniture before measuring
A new house can still have awkward corners, narrow passages, doors that swing into furniture zones, and limited clearance around kitchen islands.
Choosing finishes independently
A floor, paint color, cabinet hardware, and light fixture can each look attractive separately and still produce a disconnected room. Choose the main finishes as a group.
Installing decorative lighting without checking compatibility
Not every dimmer, bulb, fixture, or electrical system works together. Verify compatibility before installation.
Treating every new surface as something that must be replaced
New does not mean perfect for you, but it also does not mean wasteful by default. Replace the components that are genuinely weak and keep sound materials that already work.
Spending the entire budget indoors and forgetting practical exterior work
Drainage, water management, access, and basic landscaping can be more important than decorative outdoor purchases.
15. A New-Build Renovation Checklist
Before starting, make sure you can answer these questions:
- Have all visible defects been documented?
- Have I checked the builder’s warranty and required reporting process?
- Which changes become difficult once walls or ceilings are closed?
- Have electrical and plumbing requirements been measured and planned?
- Does the kitchen need a renovation, or only targeted improvements?
- Are bathroom fixtures compatible with the existing connections?
- Have I decided which flooring actually needs changing?
- Does the paint palette work with the fixed finishes?
- Have I planned lighting by function rather than fixture appearance?
- Have I measured furniture and circulation areas?
- Have I kept money aside for unexpected work?
- Which projects can wait until I have lived in the house?
If several answers are still unclear, the project probably needs more planning before demolition begins.
Final Thoughts
Renovating a newly built house is an opportunity to improve the parts that a standard builder package cannot personalize. The smartest approach is not to replace everything. It is to identify what the house already does well, correct defects while they are covered, improve difficult-to-change infrastructure, and then spend the remaining budget on the finishes and storage solutions that make everyday life better.
Start with the invisible work. Measure before ordering. Coordinate trades before surfaces are finished. Test paint and lighting in the actual rooms. And give yourself permission to live with some builder-grade finishes until you know they genuinely need changing.
A new house already gives you a strong starting point. A thoughtful renovation plan should make it more functional, more personal, and easier to live in — without creating unnecessary work or expense. Note: Electrical, plumbing, structural, ventilation, and other regulated work should be planned and completed by appropriately qualified professionals and according to applicable local requirements. Warranty coverage and building requirements vary by location and builder, so check the documents for your property before making modifications.
Disclaimer: Glimerz is a participant in the Amazon Services LLC Associates Program, an affiliate advertising program designed to provide advertising fees by advertising and linking to Amazon.com. When you click certain product links in this post and make a qualifying purchase, we may earn a small commission at no additional cost to you. We only recommend products we believe add genuine value to our readers.