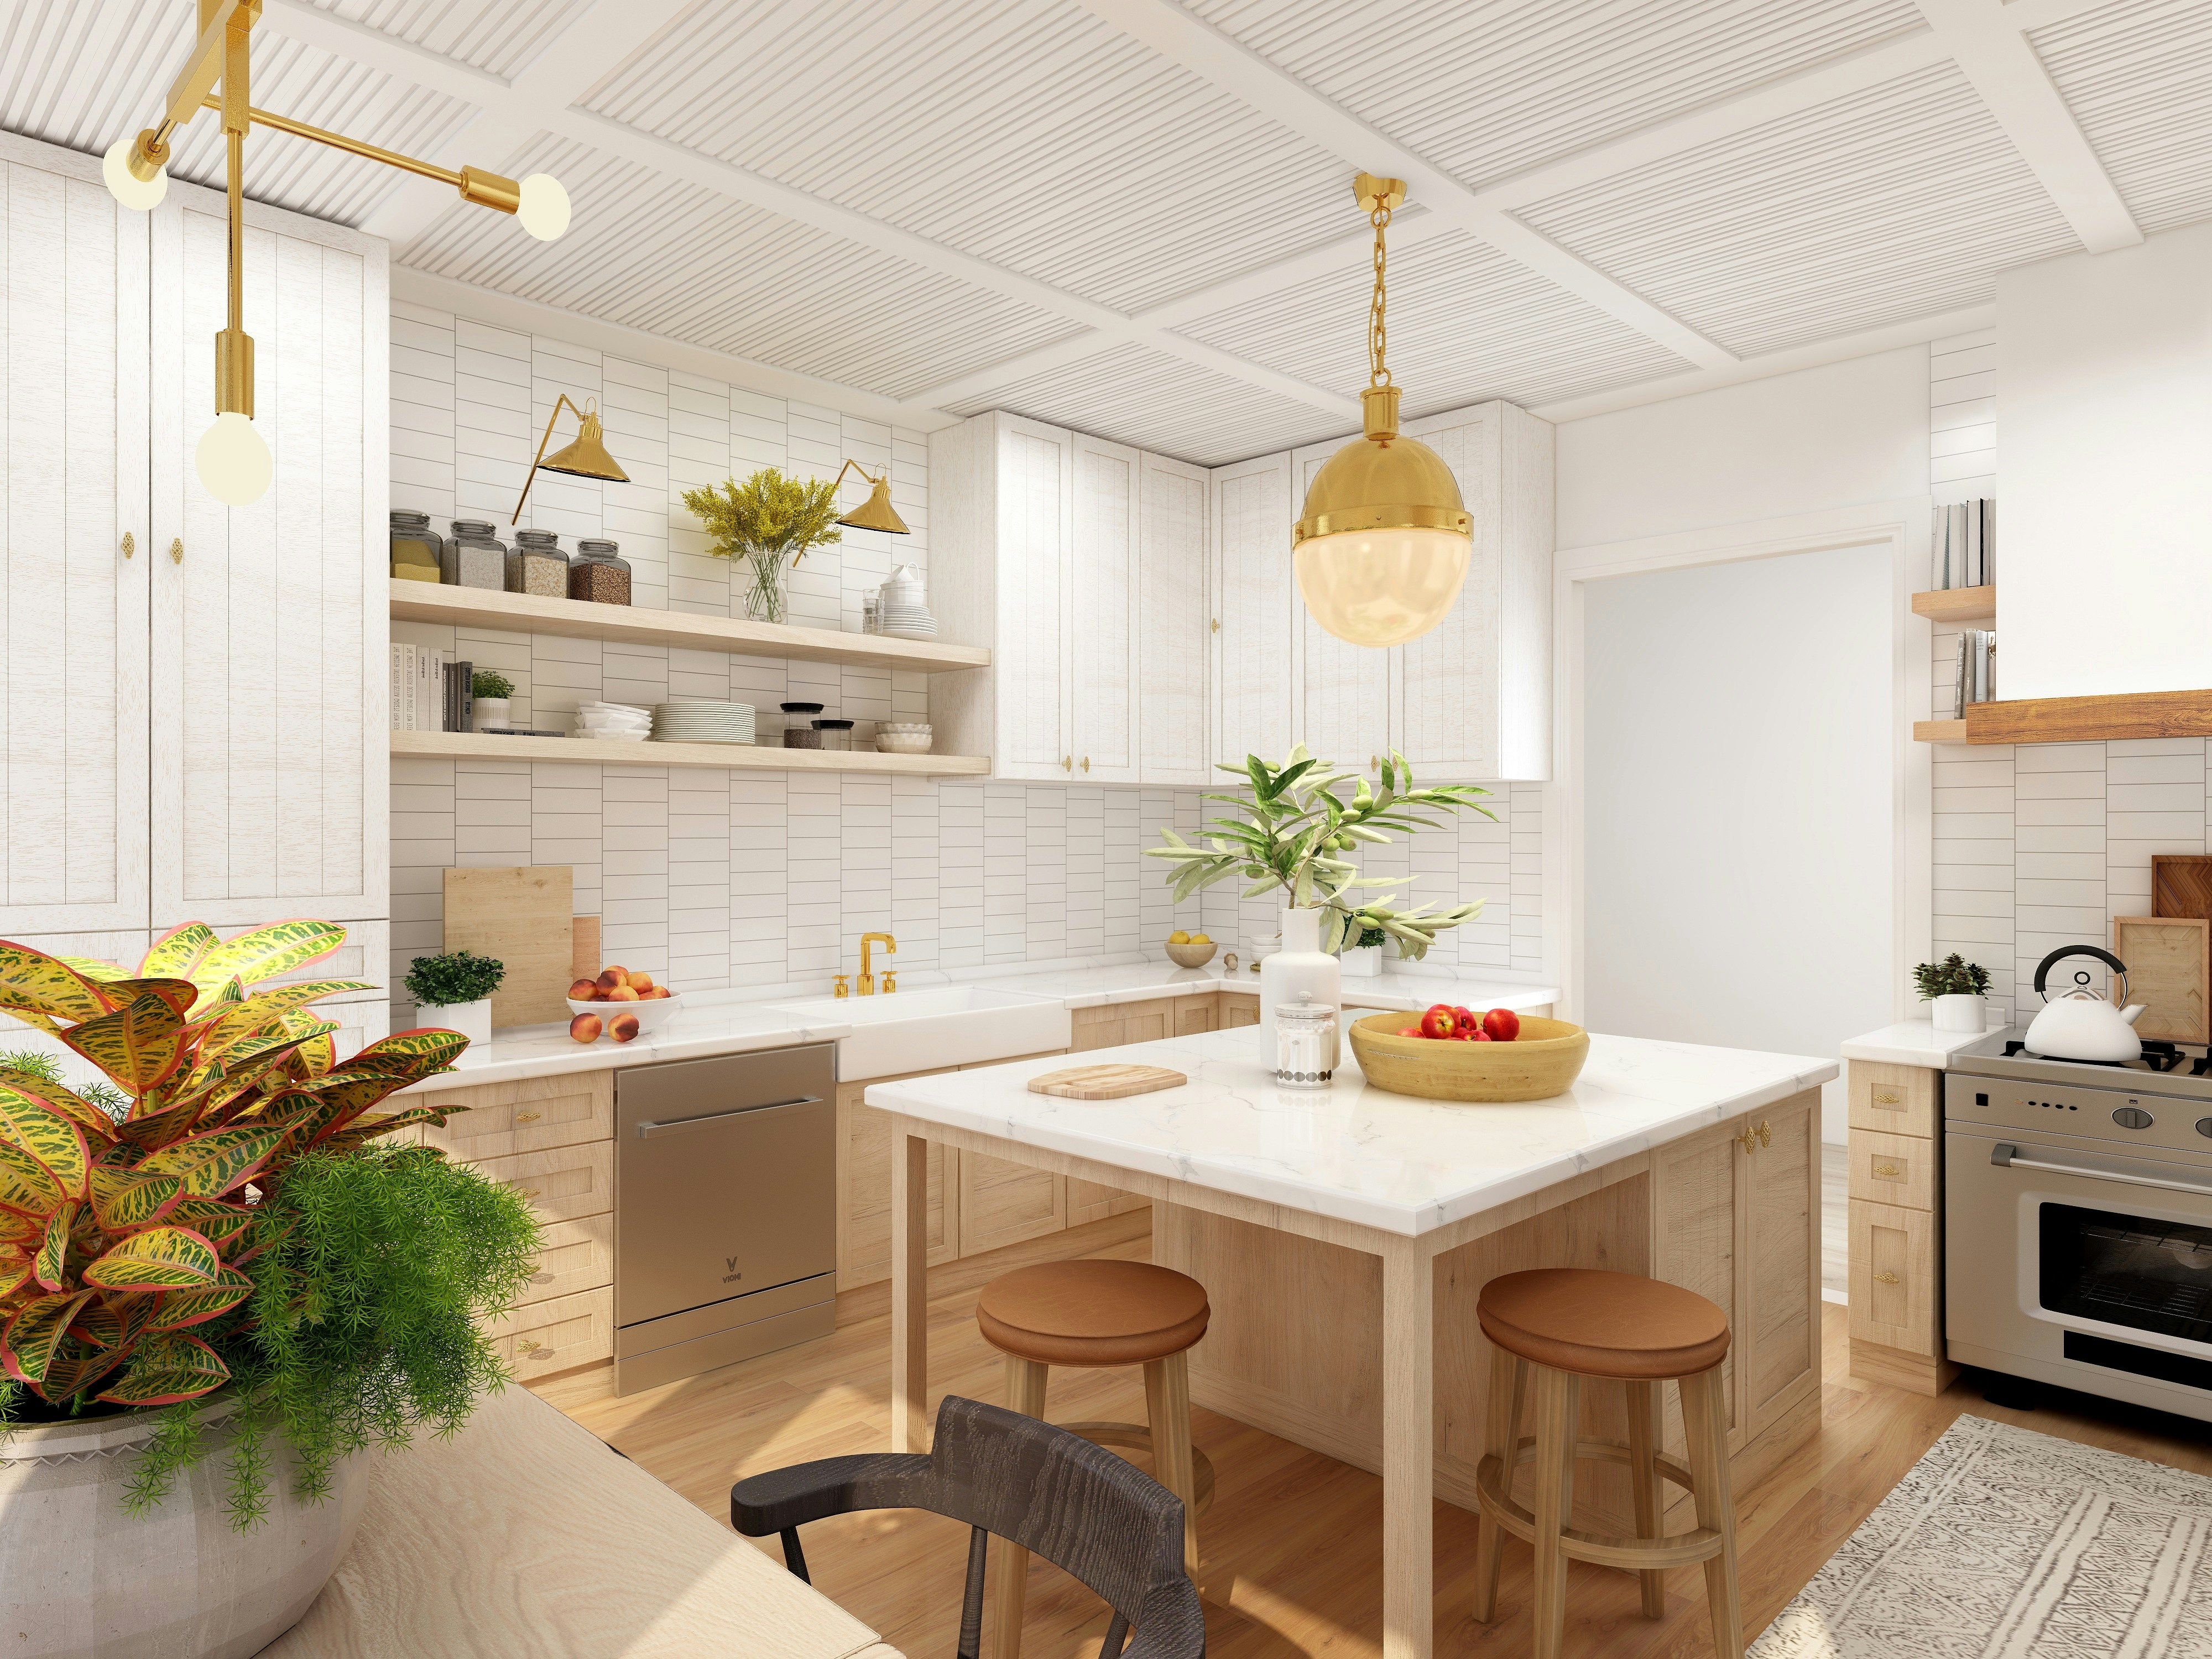
A kitchen does not need new cabinets, new flooring, and a demolition crew to feel noticeably different. In many homes, the largest improvement comes from correcting a few visible or functional weaknesses: poor task lighting, an outdated focal point, crowded counters, mismatched finishes, or storage that does not support the way the kitchen is actually used.
The key is to refresh in the right order. Start with the elements that affect how the kitchen works every day, then move toward decorative details. This keeps a small makeover from turning into a collection of disconnected purchases.
Before buying anything, spend 15 minutes looking at the kitchen from the doorway and then from the main work area. Note what looks tired, what feels inconvenient, and what you already like. A good refresh should improve the weak points without unnecessarily replacing the parts that are already working.
Start With a Kitchen Refresh Audit
Make three lists:
Keep: finishes, appliances, cabinets, or accessories that still look good and function well.
Improve: areas that work but could be better, such as a dark countertop, worn cabinet hardware, or an empty wall.
Replace: items that are damaged, incompatible, leaking, unsafe, or too worn to justify cosmetic treatment.
This distinction is important. Paint and accessories can improve appearance, but they should not be used to disguise a plumbing leak, damaged electrical work, loose cabinetry, or a deteriorating countertop. Once the functional issues are addressed, choose one or two visual directions—for example warm wood and brushed metal, or white surfaces with green accents. A limited direction helps the new pieces look intentional rather than accumulated.
1. Improve Under-Cabinet Lighting Where You Work
Overhead lighting can illuminate a kitchen while still leaving the countertop directly under the upper cabinets in shadow. Under-cabinet lighting puts light closer to the preparation surface, where it can be more useful for chopping, measuring, and cleaning. For a simple refresh, LED bars or strips can be a practical option. Before installing them, measure the cabinet run and decide where the power source and controls will be located.
Think about color temperature
Warm light can create a softer atmosphere, while a more neutral or cool appearance can feel crisper. Around 3000K is a useful starting point for a kitchen where you want a warm but reasonably clear appearance, but the right choice depends on the existing ceiling lights, cabinet colors, and personal preference.
If possible, compare a sample in the actual kitchen before installing several fixtures. A light that looks attractive in a product photograph can appear very different beside your existing lighting. For hardwired installations or modifications to household electrical wiring, use a suitably qualified professional and follow local electrical requirements.
2. Give the Backsplash a Clear Visual Role
Because the backsplash sits between the countertop and upper cabinets, even a modest change can alter the visual character of the room. A peel-and-stick backsplash can be useful for a cosmetic refresh when the existing surface is suitable for the product. But do not assume every adhesive tile works behind every cooktop or sink. Check the manufacturer’s instructions for heat, moisture, surface preparation, cleaning, and installation limitations.
Test before covering the whole wall
Order or use a sample first. Look at it:
- in daylight
- under your kitchen lights
- beside the countertop
- beside cabinet doors
- next to the faucet and appliances
If the sample competes with several existing patterns, a simpler backsplash may produce a more cohesive result. For a permanent tile installation, inspect the wall condition and plan the work around the existing countertop, outlets, cabinets, and appliances rather than treating the backsplash as an isolated decoration.
3. Upgrade the Faucet Only If It Fits the Existing Setup
A new faucet can be one of the more noticeable fixture changes because it sits at eye level and is used repeatedly. But appearance is only half of the decision. Before buying, identify the sink’s mounting configuration and measure the available space behind and around it.
Check:
- number and spacing of mounting holes
- faucet height and reach
- clearance beneath the sink
- supply-line connections
- spray-head movement
- whether the faucet base covers the existing sink opening
A pull-down sprayer can be convenient for rinsing and cleaning, but the best faucet is the one that is compatible with the sink and comfortable for the people who use it. Do not assume installation will always take an hour or require only one connection. Existing plumbing condition, access, corrosion, mounting arrangements, and local requirements can change the job considerably. If the connections are damaged or you are unsure about the plumbing, use a qualified plumber.
4. Clear the Counter Before Adding More Decor
Counter styling works better when it begins with subtraction. Remove everything that does not need to live on the countertop. Then return the items you use frequently and decide whether each remaining object has a functional or visual reason to stay.

A useful arrangement can combine three roles:
- Daily function: a kettle, coffee setup, knife block, or cutting board you genuinely use.
- Natural texture: a wooden board, fruit bowl, herb pot, or other organic-looking element.
- A small decorative accent: a vase, ceramic piece, or framed item away from the main preparation zone.
You do not need all three on every counter. The goal is to preserve enough uninterrupted workspace that the kitchen remains comfortable to use.
Use the “empty stretch” test
Stand at the main preparation area. If there is nowhere to put down a cutting board, ingredients, or a hot pan temporarily, remove decoration before buying more. Function should win over styling.
5. Add One Open Shelf Instead of Rebuilding the Cabinets
If there is a suitable blank wall, a single open shelf can introduce wood, color, and display space without replacing an entire cabinet run. Before installing one, locate wall studs or use an appropriate mounting method for the wall construction and expected load. Check the shelf manufacturer’s load guidance rather than assuming every floating shelf can carry heavy dishes.
Measure the items you want to display before choosing shelf depth. A shelf should be deep enough for the objects without creating unnecessary interference with nearby doors, walkways, or work areas.
Keep the display edited. A practical combination might be a few everyday mugs, a small stack of attractive bowls, and one decorative object. If every spare item is moved onto the shelf, it becomes open storage rather than a visual improvement.
6. Choose One Color or Material as the New Accent
A refresh can look expensive without introducing many new colors. Choose one accent and repeat it deliberately. For example, if the kitchen already has neutral cabinets and counters, you might introduce a muted green through a small amount of artwork, a runner, herbs, or accessories. Alternatively, repeat a wood tone through a cutting board, shelf, and utensil holder.
The important point is repetition, not quantity. Three related touches usually create a clearer visual connection than ten unrelated accessories. Before buying anything, photograph the kitchen and make a quick list of its permanent colors: cabinets, countertop, flooring, appliances, faucet, and backsplash. Treat those existing finishes as part of the palette.
7. Bring in Plants and Herbs—Where Conditions Allow
Plants can soften a kitchen full of hard surfaces, but the right plant depends on the actual conditions. Check the available natural light, temperature changes, humidity, and watering access before choosing a plant. A sunny windowsill may suit herbs, while a darker corner may require a plant that tolerates lower light or a different decorative solution altogether.
For herbs, choose varieties you actually cook with. A small container of frequently used herbs can provide both a visual accent and a practical reason to keep the space maintained. Keep plants away from heat sources and locations where water could damage cabinets or electrical equipment. If pets or young children are present, check whether the plant is appropriate for the household before bringing it indoors.
8. Use Warm, Functional Accessories Instead of Random Decorations
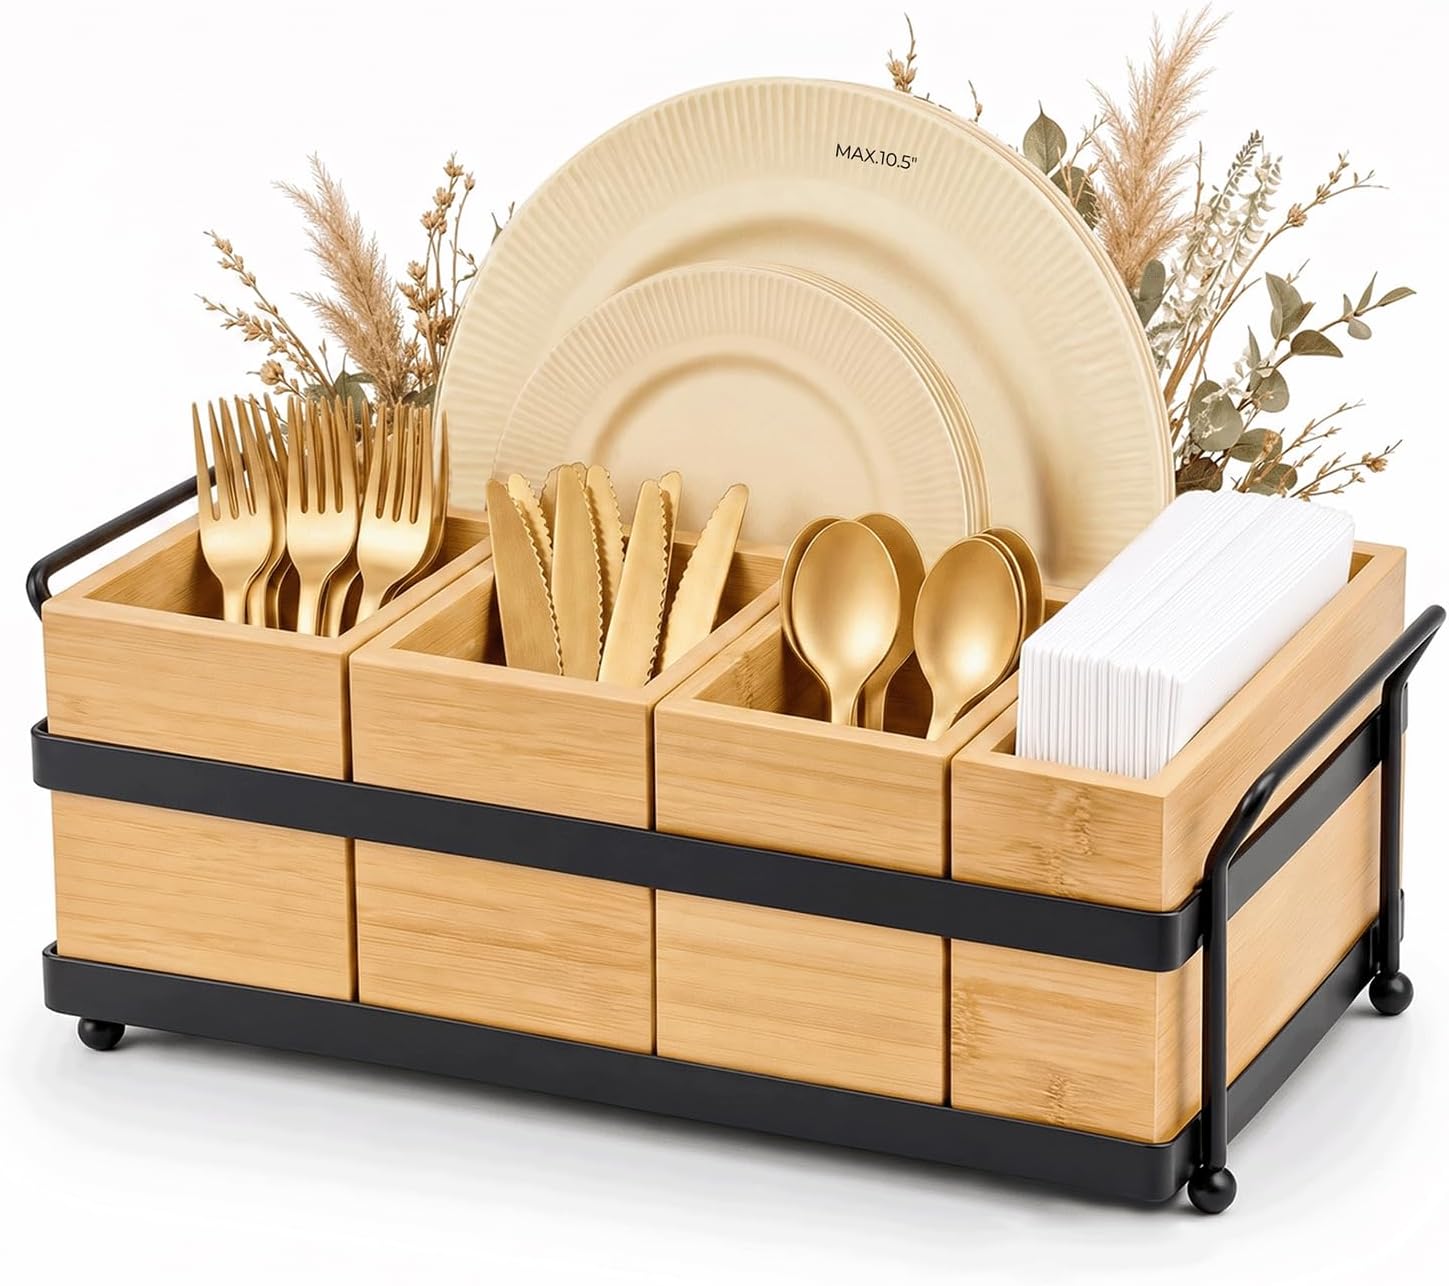
Small accessories can make a kitchen feel more finished when they serve a purpose as well as adding visual interest. Wooden utensils, a ceramic utensil holder, a fabric towel, a cutting board, or a simple tray can introduce different textures without taking over the room. Group related objects rather than spreading small decorations across every available surface. A tray can visually contain a coffee or tea setup; a utensil holder can keep everyday tools together; a cutting board can lean against the backsplash while remaining available for use.
This is a better strategy than filling the kitchen with decorative objects that must be moved every time you cook.
9. Create a Small Focal Point
If the kitchen feels visually flat, choose one location to receive extra attention. Depending on the layout, that might be:
- the backsplash behind the main counter
- a small open shelf
- a painted island
- a pendant or decorative light fixture
- a carefully styled coffee corner
- a piece of wall art in a dining-adjacent area
Do not make every surface a focal point. A focal point works because the surrounding elements are quieter. For example, if you choose a patterned backsplash, keep countertop accessories relatively restrained. If you choose a bold pendant, you may not need a large collection of decorative objects nearby.
A Practical Weekend Refresh Plan
Suppose you have a medium-sized kitchen with neutral cabinets, an ordinary faucet, weak countertop lighting, and a cluttered work surface. You have a limited budget and do not want to replace the cabinets.
Saturday morning: assess and measure
Photograph the kitchen. Measure the cabinet run where lighting will be installed, check the faucet configuration, and identify a suitable wall if you are considering a shelf.
Saturday afternoon: clear and clean
Remove unnecessary countertop items, clean the backsplash and cabinet fronts according to their material requirements, and group the objects you actually use.
Sunday: make one functional and one visual improvement
Install or set up the lighting if the product and installation method are appropriate. Then make one visual change—perhaps the backsplash, a shelf, or a coordinated accessory group. Stop there and live with the changes for a few days. You may discover that the kitchen already feels substantially better without adding more.
How to Prioritize Your Budget
A useful order is:
First: safety and repairs. Fix leaks, damaged outlets, loose hardware, broken hinges, and other functional problems.
Second: lighting and workflow. Improve the places where poor lighting or awkward organization affects daily use.
Third: high-visibility fixtures. Consider a faucet or other prominent hardware when the existing item is compatible with the planned upgrade.
Fourth: surfaces. Refresh the backsplash, paint suitable areas, or update other visible surfaces when preparation and material compatibility are understood.
Fifth: styling. Add shelves, textiles, plants, trays, artwork, or accessories after the functional improvements are complete.
This order prevents a common mistake: spending the entire budget on decorative items while the kitchen’s most important problems remain unchanged.
Three Refresh Styles to Consider
Warm and natural
Combine wood tones, warm lighting, simple ceramics, herbs, and neutral surfaces. This works well when you want the kitchen to feel softer without changing its main finishes.
Clean and contemporary
Use a restrained palette, simple hardware, clear counters, consistent lighting, and a small number of carefully chosen accessories.
Color-forward
Keep the permanent finishes relatively calm and introduce one stronger color through the backsplash, island, textiles, artwork, or accessories. Repeat that color in two or three smaller places. You do not need to choose one style perfectly. The useful part is having a direction before you start buying.
Mistakes That Make a Kitchen Refresh Look More Expensive Than It Is
Changing too many finishes at once: A new faucet, bold backsplash, colorful appliances, open shelving, and several competing metals can make a small kitchen visually busy.
Ignoring existing finishes: New accessories should work with the cabinets, countertop, flooring, and appliances already in the room.
Buying before measuring: Faucets, shelves, lighting, and storage products all have physical constraints. Measure first.
Styling every surface: A kitchen needs clear work areas. Empty space is part of good design.
Using temporary products without checking limitations: Peel-and-stick materials and adhesive accessories vary in their suitability for heat, moisture, cleaning, and different wall surfaces.
Treating appearance as a substitute for maintenance: Deep cleaning, replacing damaged caulk, tightening loose hardware, and correcting small functional problems can make an existing kitchen look better before any decorative purchase.
A Simple Kitchen Refresh Checklist
Before you start, ask:
- What three things bother me most about the current kitchen?
- Which of those problems are functional rather than cosmetic?
- What finishes do I already need to keep?
- What are the exact dimensions of the areas I want to change?
- Where will new items be stored or installed?
- Will the change make cooking or cleaning easier?
- Does the new color, metal, or material repeat something already in the room?
- Have I tested samples under the kitchen’s actual lighting?
- Am I leaving enough clear counter space?
- Can I complete the improvement without unnecessary replacement or waste?
Final Thoughts
A kitchen refresh works best when it feels like an improvement to the kitchen you already own, not an attempt to disguise it as a completely different room. Start with the way the space functions. Improve lighting where you work, make sure fixtures are compatible before replacing them, clear unnecessary countertop clutter, and use one or two visual ideas consistently. Then add warmth through wood, ceramics, textiles, plants, or a carefully chosen accent color.
The most convincing transformations are often the result of a few coordinated decisions rather than a long shopping list. Measure first, solve the biggest problem, make one change at a time, and give each new element a reason to be there.

