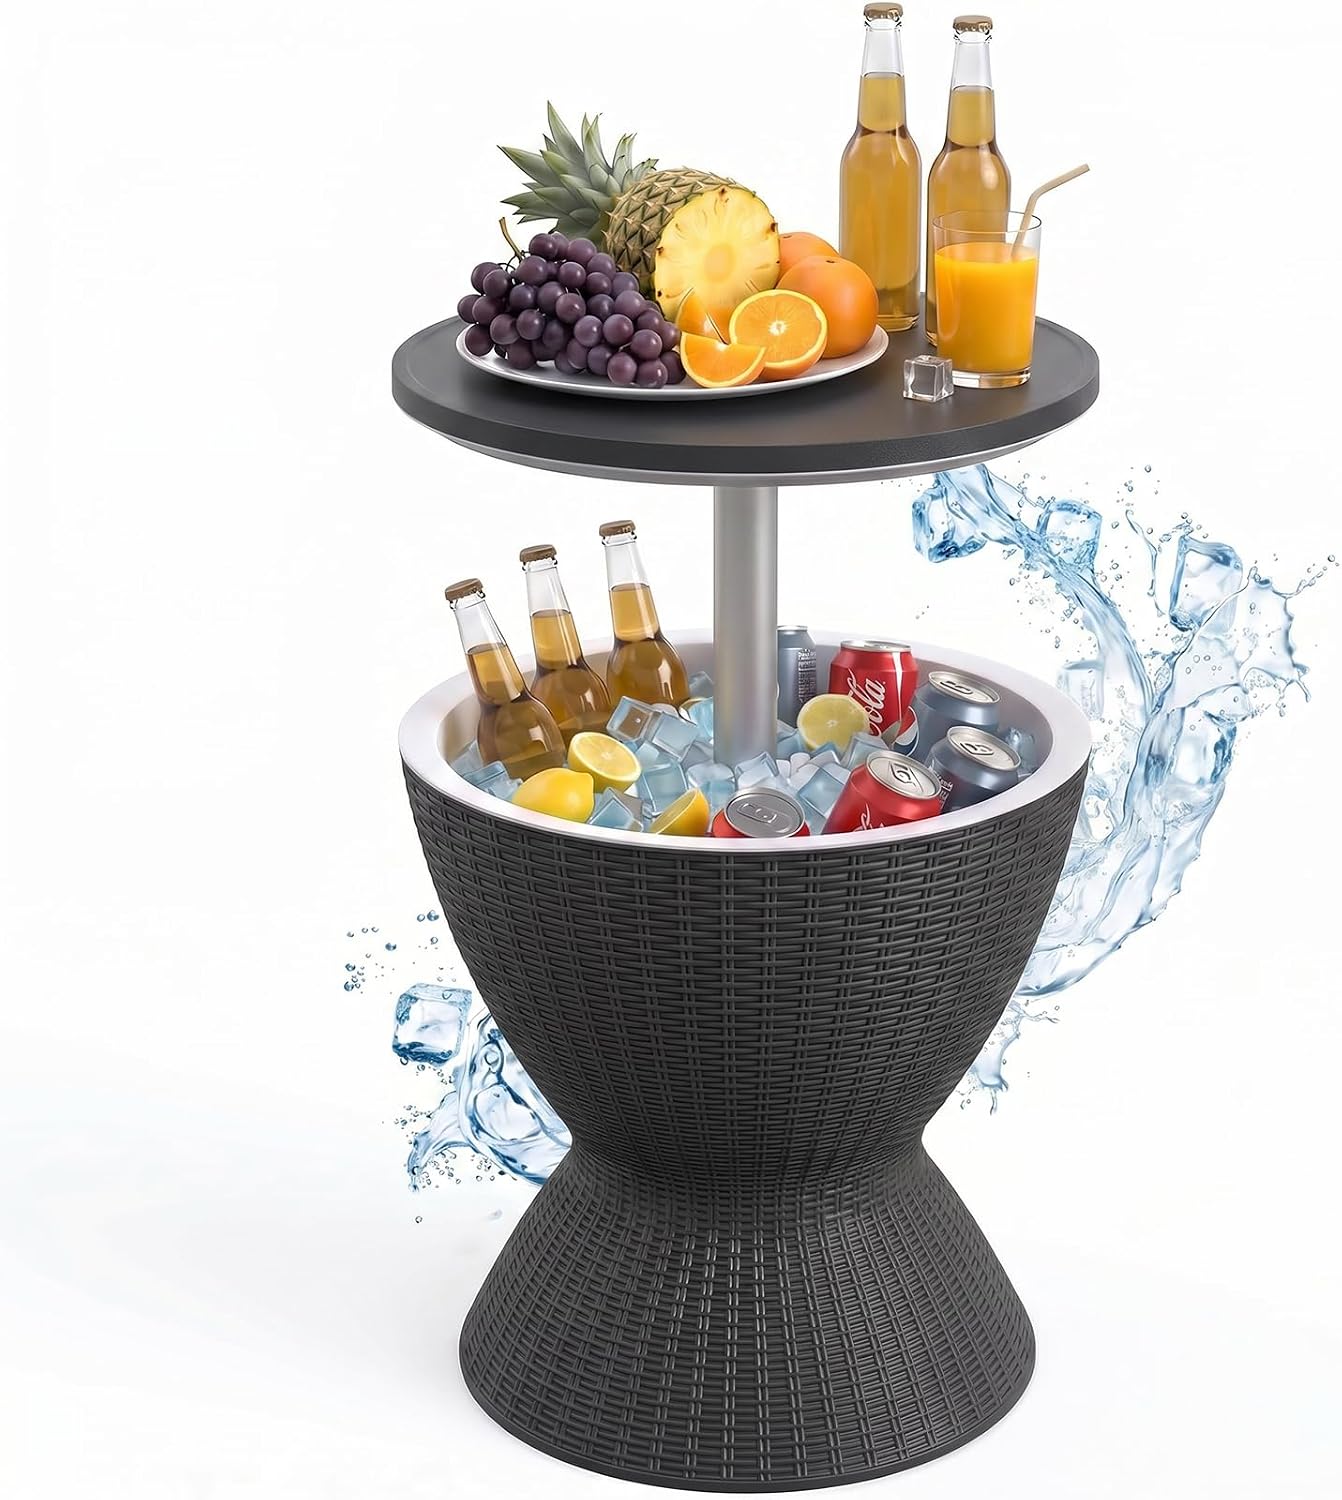
A patio bar works best when it solves a real outdoor-living problem rather than simply adding another piece of furniture. The goal is to create a small service point where drinks, glasses, ice, napkins, and frequently used items can be reached without sending the host into the house every few minutes. That means the right setup depends on your patio size, weather exposure, seating arrangement, and the way you actually entertain.
Start by measuring the patio
Before buying a bar, measure the area you intend to use and mark the footprint on the ground with painter’s tape. Include the space needed for people to stand behind or beside the bar, open doors or lids, and walk between the bar and seating.
A compact bar may work well on a narrow patio, while a larger cabinet-style station can make a small space feel crowded. As a starting point, keep roughly 30–36 inches of clear walking space along the main circulation route. If stools are part of the plan, measure the occupied stool area as well as the bar itself rather than treating the countertop dimensions as the whole footprint.
Also check the surface. A rolling cart behaves differently on smooth concrete than on uneven pavers, and a tall bar should sit on a stable, reasonably level base.
Decide what the bar actually needs to do
Outdoor bars can serve several different purposes. Decide which one matters most before choosing equipment:
| Main need | Useful feature | What to avoid |
|---|---|---|
| Drinks for a few people | Compact counter + storage | Oversized cabinet |
| Cold drinks for a gathering | Insulated cooler or separate cart | A cooler that blocks circulation |
| Cocktail preparation | Work surface + covered storage | Very shallow counter |
| Entertaining near the seating | Mobile cart | A station that cannot be moved |
| Frequent outdoor meals | Larger prep/storage area | Decorative bar with little usable surface |
This prevents the common mistake of buying an attractive bar that does not match how the patio is used.
Choose between a fixed bar and a rolling station
A fixed patio bar makes sense when you entertain in the same area most of the time. It can provide a visual anchor and enough storage for glasses, napkins, trays, and outdoor serving pieces. A rolling cooler or bar cart is more useful when your patio changes depending on the occasion. You can position it beside the dining table for dinner, move it toward lounge seating for drinks, or roll it closer to the kitchen when it needs to be refilled.
A hybrid arrangement can be especially practical: use a compact bar table as the main surface and a mobile cooler for overflow drinks and ice.
Cooling: plan for ice before the party starts
A cooler sounds simple until you have to estimate how much cold storage you need. Think about the number of guests, how long the gathering will last, whether drinks will be opened frequently, and how much food also needs refrigeration. For a four-to-six-person gathering, a modest cooler may be enough if you are serving a limited selection of drinks. Larger gatherings may benefit from separating drinks from food so the drink cooler is not opened constantly.
A rolling ice chest is useful for this reason: the cold-storage area can travel with the group instead of forcing guests to cluster around one fixed point. Keep the cooler out of direct sun where possible; a shaded position generally makes it easier to maintain a comfortable serving setup.
Give the host a real work surface
A bar should have enough counter area to hold the items being used at the same time. That might include a tray, glasses, a bottle opener, napkins, garnishes, and a small waste container.
Do not fill every inch with decorations. A useful rule is to leave a meaningful portion of the counter open for serving and preparation. If a bar is 48 inches wide, for example, you might reserve about half the surface for active use and use the remaining area for only a few permanent items.
If you plan to mix drinks, also check whether the counter is deep enough for your glassware and equipment. A shallow decorative ledge is not a substitute for a functional prep surface.
Build storage around the way you serve
You do not need a huge outdoor cabinet. Start with the items that otherwise create repeated trips indoors:

- Unbreakable outdoor glasses or cups
- Bottle and can opener
- Napkins and paper towels
- Coasters
- Serving tray
- Small waste container
- Bar towels
- Condiments or garnishes you use regularly
For safety and durability, keep valuable, delicate, or temperature-sensitive items indoors unless the storage is specifically designed for outdoor use. Outdoor furniture can be exposed to humidity, dust, insects, and temperature changes even when it is under a roof.
Treat weather resistance as a specification
Outdoor furniture is not automatically weatherproof. Check the manufacturer’s care instructions and consider how much sun, rain, humidity, and wind the location receives. Materials marketed for outdoor use can still fade, corrode, stain, or deteriorate if they are exposed continuously. Metal hardware deserves particular attention in coastal or humid areas. If the bar is not designed to stay outside year-round, plan a storage location or cover for the off-season.
For soft furnishings, removable and washable covers make maintenance easier. Store cushions and pillows during severe weather rather than assuming an outdoor label means they can be left exposed indefinitely.
Add lighting in layers
A patio bar needs enough light for people to see drinks and surfaces safely, but it does not need to be brightly illuminated like a kitchen. Use a practical combination:
- General light — enough illumination to move around the patio safely.
- Bar-area light — focused light over the serving surface.
- Decorative light — string lights or other low-level lighting to define the entertaining area.
Warm-toned decorative lighting can create a relaxed atmosphere, while task lighting should be positioned so it does not shine directly into guests’ eyes. Outdoor-rated electrical equipment should be installed and used according to its instructions, particularly around moisture. image_group{“layout”:“carousel”,“aspect_ratio”:“16:9”,“query”:[“patio bar outdoor entertaining string lights”,“small backyard patio bar setup”,“outdoor bar cart patio seating”]}
Connect the bar to the seating
The bar should support the patio’s main activity rather than compete with it. If people are mainly sitting around a dining table, position the drinks station close enough for easy access but not where it blocks chairs when they are pulled out. For lounge seating, a mobile cooler can sit near the conversation area while the main bar remains closer to the house. If you use stools at the bar, allow enough room behind them for people to pass without squeezing through.
Think of the patio as three zones: service, seating, and circulation. If those three areas overlap too much, the patio will feel crowded even when the furniture technically fits.
Three patio-bar setups to consider
Small patio: compact refreshment station
Use a narrow bar table or cart, a small cooler, two or three storage containers, and simple lighting. Prioritize circulation over a large countertop. This setup works well when most guests sit elsewhere.
Medium patio: dedicated drink zone
Combine a bar table with integrated cooling or storage, a separate rolling cooler for busy gatherings, and seating nearby. Add lighting and a small tray for serving. This gives the host a clear service point without taking over the patio.
Large patio: full entertaining station
A larger space can support a substantial bar plus separate seating and dining zones. Even here, keep the workflow simple: cold storage near the serving surface, frequently used supplies within reach, and waste/recycling positioned where it is easy to access.
A worked example: planning a 12 × 16-foot patio
Suppose the patio is 12 × 16 feet and the main door is on one short side. Instead of placing the bar immediately in front of the door, reserve that area for circulation. A compact 4-foot-wide bar can go along one long wall, leaving the center for seating.
Place a rolling cooler beside the bar during larger gatherings. Keep approximately 3 feet of the main route clear, then arrange chairs and a small table on the opposite side. String lights can define the seating perimeter while a dedicated outdoor light provides visibility at the bar.
The important part is not the exact furniture dimensions; it is the separation of the service zone from the main walking route.
What to stock — and what not to stock
A patio bar becomes more useful when it is prepared for ordinary use, not just parties. Keep a small core kit ready:

- Outdoor-safe cups or glasses
- Bottle opener and corkscrew if needed
- Napkins
- Ice scoop or tongs
- Tray
- Bar towel
- Small trash/recycling solution
- A few commonly requested nonperishable mixers or garnishes
Avoid storing anything that can spoil, attract pests, or be damaged by temperature and humidity. If you serve food outdoors, follow appropriate food-safety practices and bring perishable items out only when needed.
Three upgrades, in the right order
If the budget is limited, improve the patio bar in this sequence:
First: function. Buy or build the service surface and solve cold storage.
Second: convenience. Add storage, a tray, waste/recycling, and a mobile cooler if the layout benefits from one.
Third: atmosphere. Add lighting, textiles, plants, or decorative pieces after the workflow works.
This order prevents spending most of the budget on decorative details while the host is still carrying everything from the kitchen.
Common patio-bar mistakes
Making the bar too large. A bar that consumes the circulation path reduces the usefulness of the entire patio.
Ignoring the refill route. Measure the path between the kitchen, cooler, bar, and seating. A beautiful station in an inconvenient location will create more work.
Using indoor furniture outdoors. Sun, rain, and humidity can damage materials not designed for exterior conditions.
Overdecorating the counter. Keep working space available for trays, glasses, and serving.
Leaving cushions and supplies exposed. Weather-resistant does not mean maintenance-free.
Adding lighting without checking outdoor ratings. Follow the product’s installation and electrical-use requirements.
Final patio-bar checklist
Before buying anything, confirm:
- Bar footprint is marked on the patio.
- Main circulation route remains clear.
- Seating can be pulled out without blocking the bar.
- Cooler capacity matches the usual guest count.
- Serving/prep space remains open.
- Storage is assigned to frequently used items.
- Materials match the patio’s weather exposure.
- Lighting covers both safety and atmosphere.
- Cushions and sensitive supplies have an off-season storage plan.
- The refill route from the kitchen is practical.
A good patio bar is less about creating a restaurant-style setup and more about removing small sources of friction. Measure first, solve cooling and serving needs before decoration, keep circulation open, and choose outdoor-rated materials appropriate for your climate. Once the basic workflow works, lighting and comfortable textiles can turn the station into a place people naturally want to use.
Affiliate Disclosure: Some product links on this page are affiliate links. If you purchase through them, Glimerz may earn a commission at no additional cost to you. Our recommendations are selected to support the practical guidance in this article.