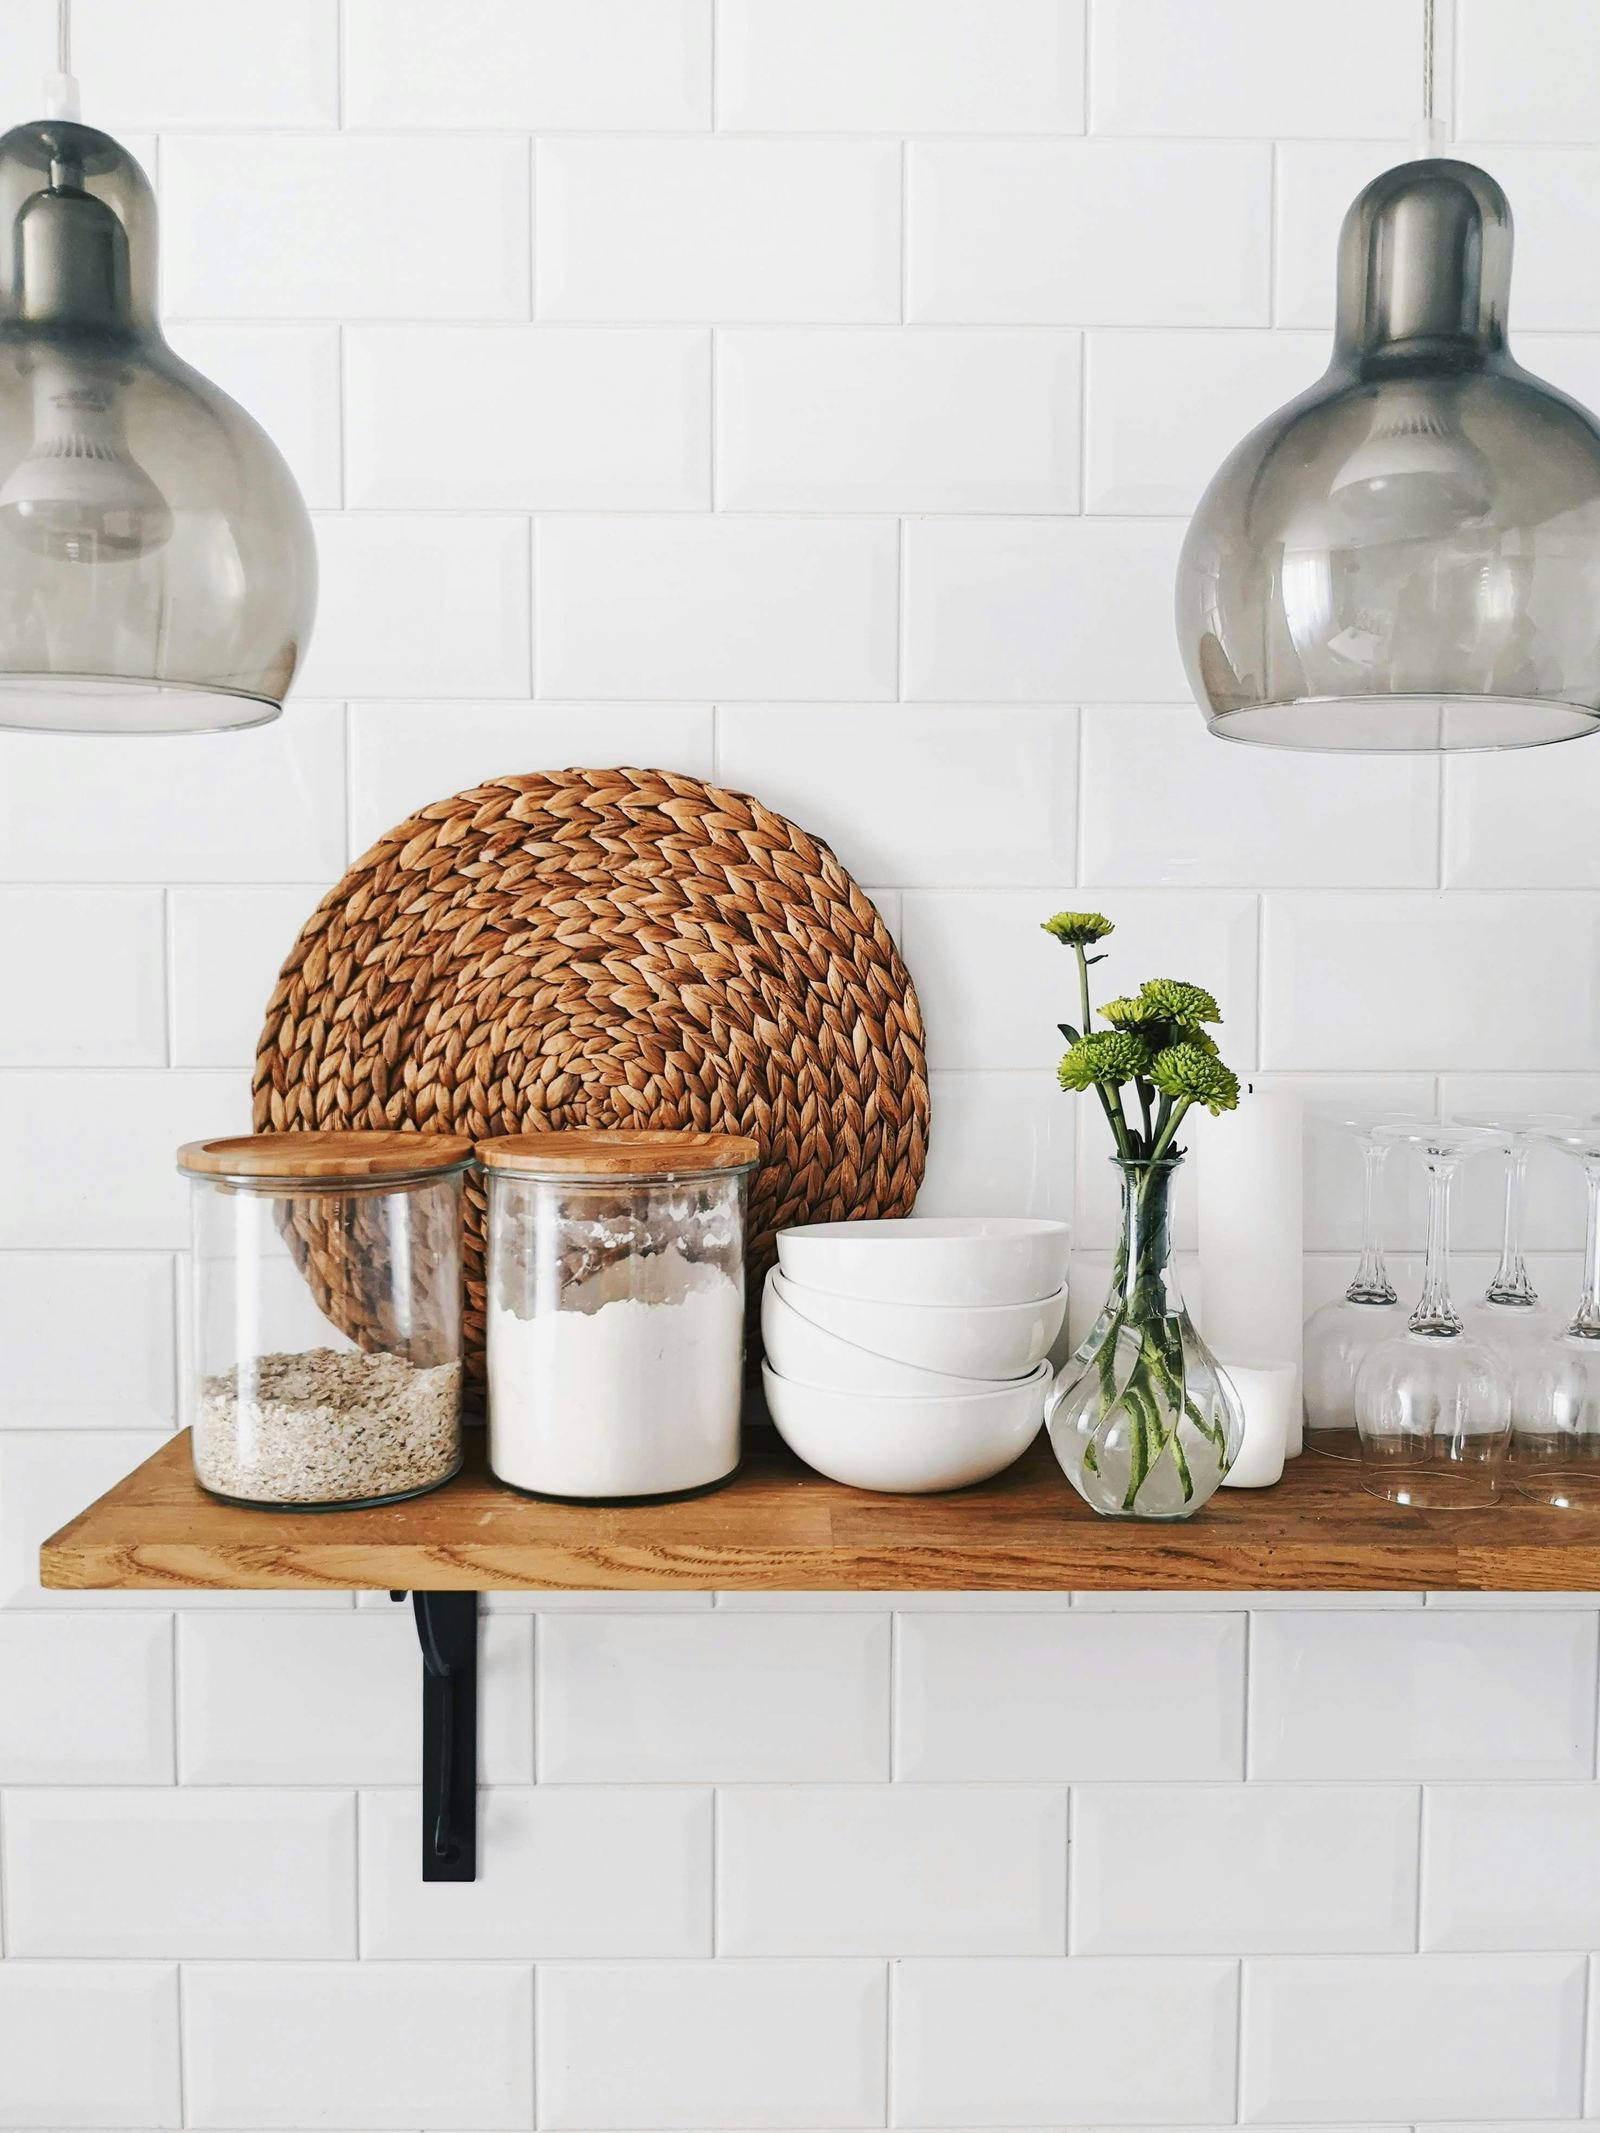
A beautiful kitchen is not created by choosing attractive cabinets and appliances one at a time. The strongest kitchens work as a connected system: the refrigerator, sink, cooking area, storage, lighting, and seating all support the way people actually move through the room.
That makes “kitchen inspiration” more useful when it becomes a decision process. Before saving another photograph, ask what you like about it, whether that feature fits your space, and how it would affect everyday cooking and cleanup. The ideas below are designed to help you make those decisions without assuming that every kitchen needs a renovation.
1. Start With a Kitchen Audit Spend 15 minutes observing how the kitchen works before changing it. Note where groceries are unloaded, where vegetables are washed, where pans are stored, and where dirty dishes collect. Look for bottlenecks rather than immediately looking for decoration.
Then measure the room: overall length and width, doorways, windows, cabinet runs, appliance openings, and the distance between major work surfaces. Photograph the room from each corner. These simple records make it easier to judge whether an inspiration idea can actually fit.
Separate the kitchen into three lists:
- Keep: features that already work well.
- Fix: problems that make cooking or cleanup inconvenient.
- Change: visual elements you would replace if the budget allows.
Fixing the second list usually creates more noticeable improvement than buying decorative accessories first. 2. Choose a Layout by Workflow, Not Fashion Common kitchen layouts include L-shaped, U-shaped, galley, single-wall, and island-based designs. None is automatically best. The right layout depends on the room, the number of people using it, appliance locations, and how much continuous work surface you need.
Instead of relying only on the traditional work-triangle idea, map the actual sequence you repeat most often: refrigerator → prep surface → sink → cooking surface → serving area. If several people cook together, also note where their paths cross. For an existing kitchen, small improvements to the placement of frequently used items can sometimes solve a workflow problem without changing the cabinets at all.
3. Protect Your Main Preparation Zone A kitchen needs a reliable place to prepare food. Do not automatically fill the best stretch of counter with a coffee maker, decorative tray, knife block, or small appliances.
Measure the clearest usable section of counter and keep it available for chopping, mixing, plating, or setting down hot cookware as appropriate for the surface. Store equipment that is used occasionally rather than allowing it to permanently occupy the work zone. If two people regularly cook together, observe where each person stands. A beautiful kitchen becomes frustrating when the refrigerator door, dishwasher, or pantry repeatedly interrupts the main preparation path.
4. Design Storage Around Categories
Good storage starts with grouping items according to how they are used. Keep everyday plates and bowls near the dishwasher or serving area. Store pots and pans close to the cooking zone. Put knives, boards, and prep tools where food preparation happens. Place baking supplies together rather than scattering them through several cabinets.
Use pull-outs, drawer dividers, shelf risers, vertical dividers, or refrigerator bins only where they solve a specific problem. An organizer is useful when it makes an item easier to see or reach; it is not useful simply because it makes a cabinet look full. For a small kitchen, prioritize storage improvements that reclaim difficult spaces before buying additional furniture.
5. Make the Refrigerator Part of the Design The refrigerator is often treated as a separate appliance, but its internal organization affects kitchen workflow. Group breakfast foods, frequently used condiments, produce, and prepared meals according to the household’s routine.
Measure shelves before buying refrigerator bins. Check that the bin height will fit beneath the shelf above and that the width leaves room for doors, drawers, and airflow as appropriate for the appliance. Clear containers or labeled bins can make small items easier to find, but avoid packing the refrigerator so tightly that you cannot see what is behind the front row.

6. Choose Cabinet Style With the Whole Room in Mind Cabinet doors are one of the largest visual surfaces in a kitchen, so their color and profile strongly influence the room. White, natural wood, gray, green, navy, and darker neutrals can all work; the better choice is the one that coordinates with the fixed elements you already have.
Before choosing a new cabinet color, compare it with the countertop, backsplash, floor, appliances, and adjacent rooms. Test samples in the actual kitchen because daylight, artificial lighting, and nearby materials can change how a color appears. If a full cabinet replacement is unnecessary, changing hardware, repainting suitable cabinetry, or improving lighting can create a different visual effect for a fraction of the work.
7. Treat the Countertop as a Working Surface First Countertop selection is not only about appearance. Consider heat, stains, scratches, maintenance, seam locations, edge details, and the type of food preparation you do.
For an existing countertop, keep the design flexible by coordinating accessories with the surface rather than trying to make every object match it exactly. Wood, ceramic, glass, and metal can provide contrast while still connecting to the room’s existing finishes. When choosing a new surface, request care information from the manufacturer and consider whether your normal habits are compatible with the material. A surface that looks perfect in a showroom may require more maintenance than you want at home.
8. Use Lighting to Improve Both Function and Atmosphere Kitchen lighting should be planned in layers. Ambient lighting provides general illumination, task lighting helps with preparation and cooking, and accent lighting can highlight shelves, architectural features, or display areas.
Look specifically for shadows. A ceiling fixture behind the person chopping food can leave the work surface darker than expected. Under-cabinet lighting can help illuminate the counter directly below, while pendants can define an island or breakfast area.
If replacing fixtures, check the electrical box, ceiling height, fixture dimensions, and manufacturer’s installation requirements. For a rental or simple refresh, appropriately placed bulbs and plug-in lighting may provide a lower-commitment improvement. 9. Add Natural Materials Without Creating a Theme
Wood, stone, woven materials, ceramic, and greenery can add visual warmth to a kitchen. The trick is repetition rather than quantity. For example, a wood cutting board can connect with a wood stool or shelf without requiring every accessory to be wood. A ceramic bowl can echo the color of the backsplash. A small plant can soften a hard countertop edge where light conditions allow it to thrive.
Choose materials that suit the cleaning demands of the room. Porous or delicate decorative pieces should not be placed where they will constantly be splashed, greased, or exposed to heat. 10. Decide Whether an Island or Seating Area Earns Its Space
An island is useful only when it improves the kitchen enough to justify the space it occupies. Before adding one, tape its proposed footprint on the floor and walk around it while opening appliance and cabinet doors. As a starting planning check, aim for comfortable circulation around major work areas rather than squeezing in the largest island that technically fits. The exact clearance depends on the layout, appliance doors, accessibility needs, and whether one or more people need to work in the aisle.
For smaller kitchens, a narrow movable cart or compact breakfast surface may provide useful storage and seating without creating a permanent obstruction. 11. Create a Focal Point A kitchen can have many attractive features, but it does not need all of them to compete for attention. Choose one main visual anchor: a distinctive backsplash, range hood, pendant grouping, open shelf, artwork, island, or carefully styled counter section.
Keep the remaining surfaces quieter. This is particularly effective in small kitchens where too many patterns, finishes, and accessories can make the room feel crowded. A focal point also gives you a practical way to prioritize a renovation budget: spend more on the feature you want to notice and keep secondary elements simpler.
12. Make Small Kitchens Feel Deliberate A small kitchen does not need to imitate a large one. Instead, make every visible and functional element earn its place. Use vertical storage where appropriate, keep counter appliances limited to those used frequently, and choose a consistent visual language for hardware, containers, and open shelving. If possible, keep the sightline from the kitchen entrance relatively calm so the room feels organized when viewed as a whole.
A narrow 8-foot counter, for example, may work better with one clear preparation section, one appliance zone, and well-organized cabinets than with decorative objects spread across the entire surface. 13. Three Design Directions to Test

Warm modern: Pair simple cabinetry with one warm wood element, restrained hardware, layered lighting, and a small amount of greenery. Keep the palette controlled so the wood becomes an accent rather than a theme.
Clean classic: Use a quiet cabinet color, simple hardware, durable-looking surfaces, and traditional shapes in small accessories. Add personality through artwork or ceramics that can be changed later.
Color-led kitchen: Choose one stronger color for cabinetry, backsplash, or a movable element and let the remaining finishes support it. Test the color in morning and evening light before committing.
These are starting directions, not rules. Mix elements only after identifying what you want the room to feel like and which existing finishes cannot be changed. 14. A Practical Refresh Plan for a Limited Budget
You do not need to renovate the whole kitchen at once. A sensible sequence is:
Stage 1 — Remove friction: declutter counters, reorganize the refrigerator, group cabinet contents, and improve the main preparation area.
Stage 2 — Improve light: replace unsuitable bulbs or add task lighting where shadows make food preparation difficult.
Stage 3 — Refresh visible details: update cabinet hardware, a suitable runner, selected containers, or a small amount of coordinated decor.
Stage 4 — Make one larger change: if the budget allows, choose the feature with the greatest practical or visual impact, such as a backsplash, faucet, countertop section, or lighting fixture.
Stage 5 — Stop and reassess: live with the changes before buying more. The gaps that remain are more useful than the ones you imagined before the refresh.
Common Kitchen Design Mistakes
- Choosing a layout from a photograph without measuring the room.
- Sacrificing the main preparation surface for decorative storage.
- Adding an island without testing the circulation around it.
- Buying organizers that make cabinets harder to access.
- Choosing cabinet colors without testing them in the actual lighting.
- Mixing too many finishes without a connecting material or color.
- Treating open shelving as purely decorative and ignoring cleaning.
- Overfilling counters with appliances and accessories.
- Renovating attractive surfaces while leaving the kitchen’s workflow unchanged.
- Making every element a focal point.
Final Kitchen Inspiration Checklist Before you commit to a design idea, ask:
- What problem does this change solve?
- Have I measured the space and checked clearances?
- Does it improve a real cooking or storage routine?
- Does it coordinate with the finishes that cannot be changed?
- Will it be easy to clean and maintain?
- Can I test the idea temporarily before spending heavily?
- Is this the best use of my current budget?
- After the change, will there still be a clear place to prepare food?
If you can answer those questions, inspiration becomes a practical design tool instead of a collection of attractive photographs. The Takeaway The most successful kitchen designs balance three things: how the room looks, how people move through it, and how easily everyday tasks can be completed. Start with an audit and measurements, protect your preparation zones, organize storage around real habits, layer the lighting, and choose materials that suit the way the kitchen is used.
Then add personality through color, texture, ceramics, greenery, artwork, or one strong focal feature. You do not need every current trend or a complete remodel to create a kitchen that feels considered. A few well-prioritized changes can make the existing room work—and look—much better.
Affiliate disclosure: Some product links in this article are affiliate links. If you purchase through them, Glimerz may earn a commission at no additional cost to you.

