
A kitchen can feel noticeably better without changing its footprint. In many homes, the biggest frustrations come from small problems: a dark preparation surface, crowded drawers, awkward pantry storage, worn hardware, or everyday tools that are difficult to reach. Those problems are useful because they can often be solved one at a time. Instead of treating a refresh as a shopping list, identify the friction first and choose an upgrade that removes it.
This guide focuses on changes that can improve both the appearance and everyday function of an existing kitchen without assuming a full renovation.
Start With a Kitchen Friction Audit
Before buying anything, walk through one normal cooking session. Write down the moments that slow you down or make the room feel cluttered. Look for questions such as:
- Where do shadows make food preparation difficult?
- Which drawer takes too long to search?
- Which cabinet is difficult to access?
- What permanently occupies useful counter space?
- Are cabinet knobs or pulls damaged, loose, or visually inconsistent?
- Do pantry items disappear behind one another?
- Are oils, utensils, or prep tools far from where they are used?
Rank each problem by frequency, frustration, and cost to fix. A small change that solves a problem every day is usually a better first purchase than a decorative upgrade that is noticed only occasionally.
1. Improve the Light at the Preparation Surface
Kitchen lighting should be judged where work happens, not only from the center of the room. Stand at your main preparation counter and look for shadows caused by your body, upper cabinets, or overhead fixtures.
Under-cabinet lighting can help illuminate the surface directly below the cabinets. Puck lights are one option; linear LED fixtures are another. Choose according to the length of the counter, mounting method, power source, controls, and the manufacturer’s specifications.
Before installing anything, test the proposed light position with temporary lighting if possible. A fixture that looks bright on paper may still leave a dark section of counter. If a new hardwired fixture is required, use an appropriately qualified professional where local electrical rules call for it. Plug-in or battery-powered options can be simpler for a small refresh.
2. Refresh Cabinet Hardware Without Replacing Cabinets
Knobs and pulls are small, but they sit on one of the largest visual surfaces in the kitchen. Replacing worn or mismatched hardware can give existing cabinets a cleaner appearance without changing the doors. Measure the existing hardware carefully, particularly the center-to-center distance between screw holes on pulls. Matching the existing hole spacing makes installation easier and avoids drilling new holes.
For new hardware, decide whether you want knobs, pulls, or a combination. Keep the finish connected to other visible elements such as the faucet or lighting rather than trying to match every metal object exactly. Before installing all the pieces, test one or two in the actual room. Check the grip, projection, and appearance under the kitchen’s normal lighting.
3. Turn a Crowded Drawer Into a Working Drawer
A drawer organizer is useful when it gives tools defined positions and makes them easy to return. Start by removing everything from the drawer and grouping the contents by actual use. Measure the drawer’s interior width, depth, and usable height. Check the drawer’s internal hardware and make sure an organizer will not interfere with closing.
Keep the tools you use most often in the easiest-to-reach section. If the drawer contains items that belong in different work zones, consider moving some rather than creating an organizer that simply makes the clutter more orderly. The goal is not maximum capacity. It is quick access.
4. Make Pantry Storage Visible
Pantry organization can improve both appearance and everyday inventory control. Start by removing expired or unwanted items and grouping the remaining food by how you use it: breakfast, baking, snacks, grains, sauces, or another system that fits your household.
Clear containers and bins can help when original packaging is difficult to stack or see. But do not transfer every food into a container automatically. Keep products in packaging when it is more practical, and follow any storage directions supplied by the manufacturer.
If you use containers, choose sizes that match the quantities you normally buy. Label the contents clearly. For frequently used dry goods, a container that lets you see how much remains can make grocery planning easier.
Measure shelves before buying bins. A container that fits the shelf but prevents the pantry door from closing is not an upgrade.
5. Rework the Spice Storage
Spices are easiest to use when labels are visible and the collection is stored away from unnecessary heat, steam, and moisture. A drawer organizer can display labels from above. A tiered shelf can improve visibility inside a cabinet. A turntable can make a deep corner easier to reach. Choose the format based on the cabinet or drawer you already have.

If you transfer spices into matching jars, establish a refill and labeling routine at the same time. Uniform jars can look attractive, but clear identification matters more than matching containers. Do not install a spice rack simply because there is an empty wall. First ask whether the location is convenient for cooking and appropriate for storing spices.
6. Protect the Main Prep Surface
A cutting board can protect a countertop from direct knife work while giving you a defined preparation surface. Choose a board large enough for your normal tasks but small enough to store safely when it is not being used. A useful starting point is to measure the clearest counter section and compare the board’s footprint with the space available. Leave room for ingredients and finished food rather than filling the entire preparation area with accessories.
For foods that release liquid, a board with an appropriate groove may help contain some juices, but it does not replace normal food-handling and cleaning practices. Follow the care instructions for the board material.
7. Give Mixing and Prep Bowls a Better Home
Mixing bowls often consume more cabinet space than expected because several sizes are stacked together. Nesting bowls can reduce the footprint, but check the actual dimensions and cabinet height before purchasing a new set. Store the sizes you use most often where they can be removed without moving heavy cookware. If bowls are frequently used beside the preparation counter, a nearby cabinet is more practical than a distant shelf simply because the distant shelf has spare space.
For glass lids or other fragile components, consider whether the storage location protects them from impacts and makes them easy to retrieve.
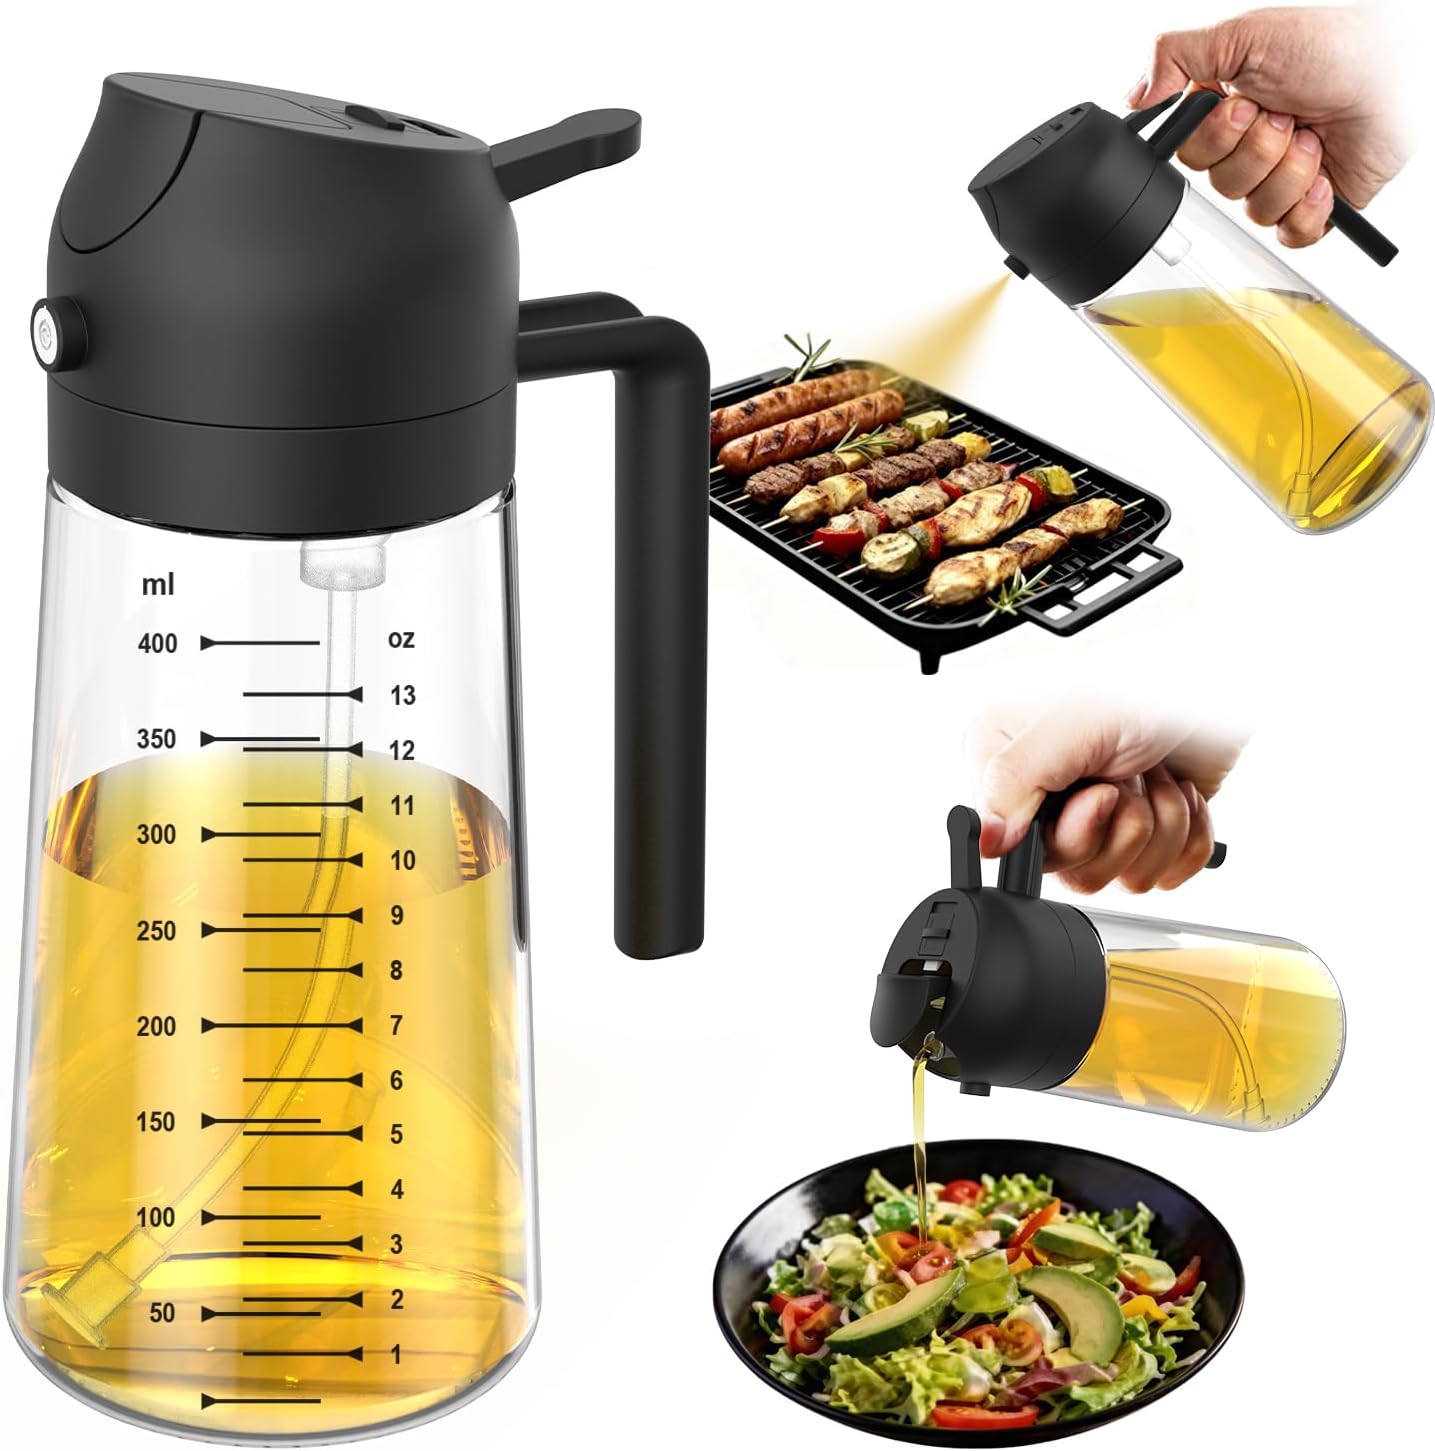
8. Make Oil and Frequently Used Ingredients Easier to Handle
Oils, vinegar, and sauces are often used during active cooking, so their storage should be close enough to reach without crossing the main work path. A dispenser can make pouring easier for some households, but only if it is appropriate for the oil and easy to clean. Keep bottles away from direct heat and wipe drips before they build up on the counter.
Do not turn every frequently used ingredient into countertop decor. Keep only the items that genuinely support your cooking routine visible.
9. Add a Small Appliance Only When It Replaces Work
Small appliances can be worthwhile when they solve a task you perform often. A juicer attachment, for example, may make sense for someone who regularly prepares fresh juice and already owns a compatible mixer. Before buying an attachment, verify compatibility with the exact appliance model and check the manufacturer’s instructions for operation and cleaning.
For occasional use, storage space may be more valuable than keeping another appliance permanently on the counter. Ask: How many times will I realistically use this in a month, and where will it live afterward?
10. Improve One Awkward Cabinet
You do not have to reorganize every cabinet at once. Pick the one that causes the most frustration and solve that specific problem. If shelves are too far apart, a suitable riser may create another level. If a deep cabinet hides small containers, a correctly sized pull-out or bin may improve visibility. If baking trays fall over, vertical dividers may be more appropriate.
Measure first and check load ratings for organizers that will support heavier items.
11. Use a Small “Landing Zone” for Everyday Tools
A kitchen needs somewhere for the objects that temporarily enter the workflow: a phone with a recipe, a measuring cup, a spoon, or an ingredient waiting to be used. Instead of allowing these items to spread across the entire counter, define a small landing area. A tray or shallow organizer can create a boundary without requiring another cabinet.
This is particularly useful in small kitchens because it preserves the main preparation area while still acknowledging that real cooking creates temporary clutter.
12. Refresh the Visual Connection Between Old and New
Small upgrades look more intentional when they share a visual connection. You might repeat a cabinet hardware finish in the lighting, echo a backsplash color in a bowl, or use one wood element to connect an island with existing shelves. Do not force everything to match. Choose one or two repeated elements and allow the rest of the kitchen to remain varied.
If the room contains several fixed finishes that cannot be changed, use those as the starting point rather than designing around a new accessory.
A Worked Example: Refreshing a 10 × 12 Kitchen
Imagine a 10 × 12-foot kitchen with good cabinets and countertops but three problems: the main prep area is dim, the utensil drawer is difficult to use, and the pantry has poor visibility. Instead of replacing the cabinets, start with the friction points.
First: add suitable under-cabinet lighting after testing the placement and power method.
Second: remove the utensil drawer contents, measure the drawer, and install an organizer sized to the actual interior.
Third: group pantry contents by use and add a small number of appropriately sized clear containers or bins where they improve visibility.
Fourth: if the cabinet hardware is worn, measure the existing hole spacing and replace it with a coordinated finish.
The kitchen may look fresher after these changes, but more importantly, three daily problems have been addressed without changing the layout.
What to Do First on a Limited Budget
If you have only enough money for one or two upgrades, prioritize by the number of times you will benefit from them.
Daily problem: solve the lighting, storage, or workflow issue you encounter every day.
Frequent problem: improve the drawer, pantry, or cabinet that repeatedly slows you down.
Visual problem: update hardware or another visible detail when the functional issues are already under control.
Optional convenience: buy an appliance attachment or specialty accessory only after confirming that you will use it regularly.
This order keeps a small refresh from becoming an unplanned collection of kitchen products.
Common Small-Upgrade Mistakes
- Buying organizers before measuring the available space.
- Choosing lighting based only on appearance or advertised brightness.
- Replacing cabinet hardware without checking hole spacing.
- Filling the counter with new accessories while trying to reduce clutter.
- Transferring every pantry item into containers regardless of actual need.
- Storing spices beside unnecessary heat or steam.
- Buying appliance attachments without checking model compatibility.
- Installing organizers that cannot safely support the intended load.
- Making every new finish match instead of creating a simple visual connection.
- Doing cosmetic upgrades before fixing the kitchen’s most frustrating workflow problem.
Small Kitchen Upgrade Checklist
Before purchasing an upgrade, ask:
- What specific problem am I solving?
- How often does that problem occur?
- Have I measured the space?
- Will the new item interfere with doors, drawers, outlets, or work surfaces?
- Is the product compatible with my existing appliance or cabinet?
- Can I test the idea before making a permanent change?
- Will this item be easy to clean and maintain?
- Where will it live when it is not being used?
- Does it support the kitchen’s existing color and material palette?
- Is it more valuable than simply removing or rearranging something I already own?
The Takeaway
Small kitchen upgrades work best when they solve specific problems. Better light can make preparation easier, a properly measured organizer can make a drawer usable, visible pantry storage can simplify inventory, and new hardware can refresh cabinets without replacing them.
The key is to resist the temptation to buy everything at once. Audit the kitchen, identify the most frequent friction point, measure before purchasing, and make one change. Live with it long enough to see whether it actually helps.
A kitchen does not need a dramatic renovation to feel better. Often, the most worthwhile inspiration comes from noticing what makes your own kitchen difficult to use and making one thoughtful improvement at a time.
Affiliate disclosure: This article contains affiliate links. If you purchase through one of these links, Glimerz may earn a commission at no additional cost to you. Product suggestions are included because they relate to the upgrade decisions discussed above and do not determine our editorial recommendations.

