Rebuilding a Kitchen After a Leak: What to Dry, What to Replace, and How to Prevent Future Damage
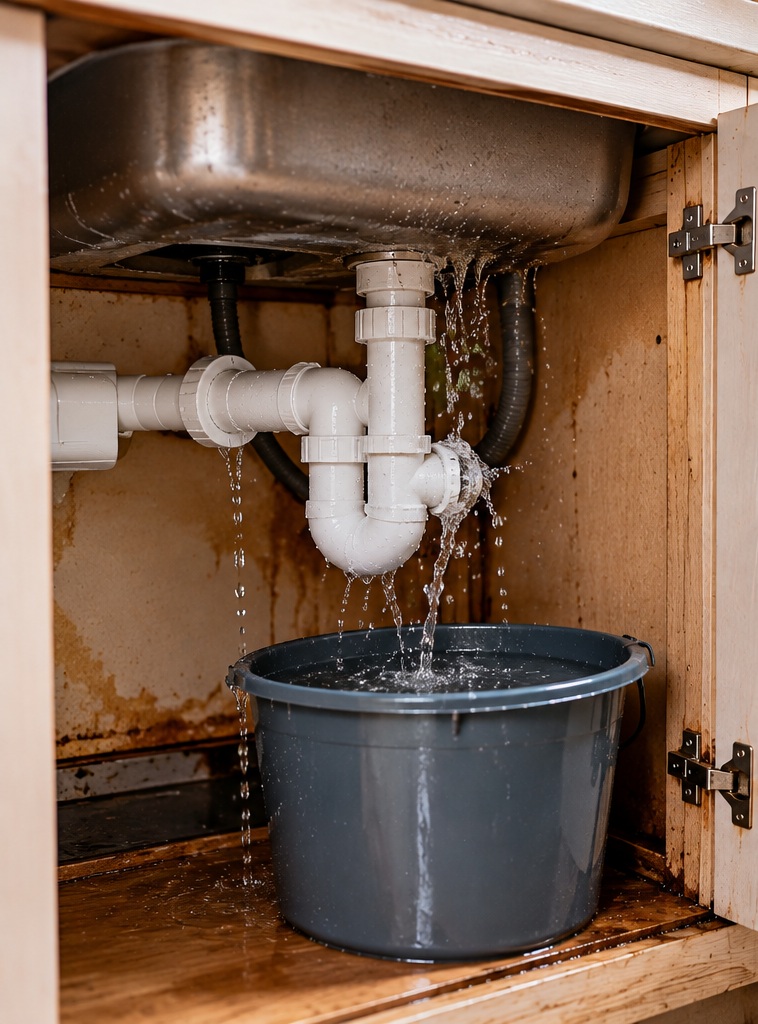
A kitchen leak can begin with something as small as a dripping sink connection, a damaged dishwasher hose, or a loose refrigerator water line. Unfortunately, water often travels beneath cabinets, behind appliances, and under flooring before the problem becomes visible. By the time a wet patch appears, the damage may extend well beyond the original leak.
The key to a successful kitchen repair is following the correct order: stop the water, assess the damage, dry affected materials, and only then begin rebuilding. Rushing into repairs before hidden moisture has been addressed can lead to recurring damage, unpleasant odors, and mould growth.
Stop the Leak and Check for Safety
The first step is to stop the water supply. Depending on the source, this may mean closing the valve beneath the sink, isolating the dishwasher or refrigerator connection, or shutting off the home’s main water supply.
Electrical safety is equally important. If water has reached outlets, appliances, wiring, or electrical equipment, do not touch affected equipment or enter standing water where an electrical hazard may exist. Have the power safely isolated by a qualified professional when necessary.
Before removing damaged materials, photograph the affected areas. Take pictures of the flooring, cabinet interiors, appliance connections, walls, and any visible staining or swelling. If you plan to make an insurance claim, retain photographs, repair estimates, receipts, and other relevant records.
Which Kitchen Materials Can Be Saved?
Not every material responds to water in the same way. The extent of exposure, the type of water involved, and the condition of the material all affect whether it can be dried and retained.
Cabinets and Woodwork
Solid wood cabinet doors and frames may be salvageable if the damage is limited and drying begins promptly. However, prolonged exposure can cause warping, finish damage, and deterioration.
Particleboard and medium-density fibreboard (MDF) are more vulnerable to swelling when wet. If a cabinet base or side panel has expanded, lost strength, or begun to break apart, replacement may be necessary. Surface drying alone does not restore damaged board to its original condition.
A professional assessment can help determine whether cabinet components are structurally sound and suitable for reuse.
Flooring and Subfloors
Tile flooring may remain serviceable after a leak, but the condition of the grout, adhesive, and underlying subfloor must also be considered. Water trapped underneath the tiles can damage the substrate even when the visible surface looks normal.
Laminate and engineered wood flooring can swell, buckle, or separate after prolonged exposure. Vinyl flooring may be more resistant to water at its surface, but moisture can still become trapped underneath it.
Do not assume that flooring is safe simply because it feels dry. Where water may have reached the subfloor, the affected area should be inspected and moisture levels assessed before the floor is closed up again.
Drywall and Insulation
Water can travel behind kitchen cabinets and appliances, affecting drywall, insulation, and wooden framing. Staining, soft spots, peeling finishes, or a persistent musty smell can indicate a hidden problem.
Damaged drywall may need to be removed to inspect the materials behind it. Wet insulation and other porous materials can be difficult to dry adequately once saturated, particularly inside enclosed cavities.
Mould can begin developing within approximately 24–48 hours under suitable conditions. This is a general prevention guideline, not a guarantee that mould will or will not appear within that period. Prompt drying and inspection are essential.
How to Dry a Kitchen Properly
Opening windows and wiping visible water away may help, but these steps do not necessarily remove moisture trapped inside cabinets, flooring, walls, or insulation.
Start by removing wet rugs, mats, stored items, and other materials that obstruct access to affected areas. Empty cabinets where water has collected and remove accessible kick plates if doing so is safe and practical. This can help expose concealed areas for inspection and drying.
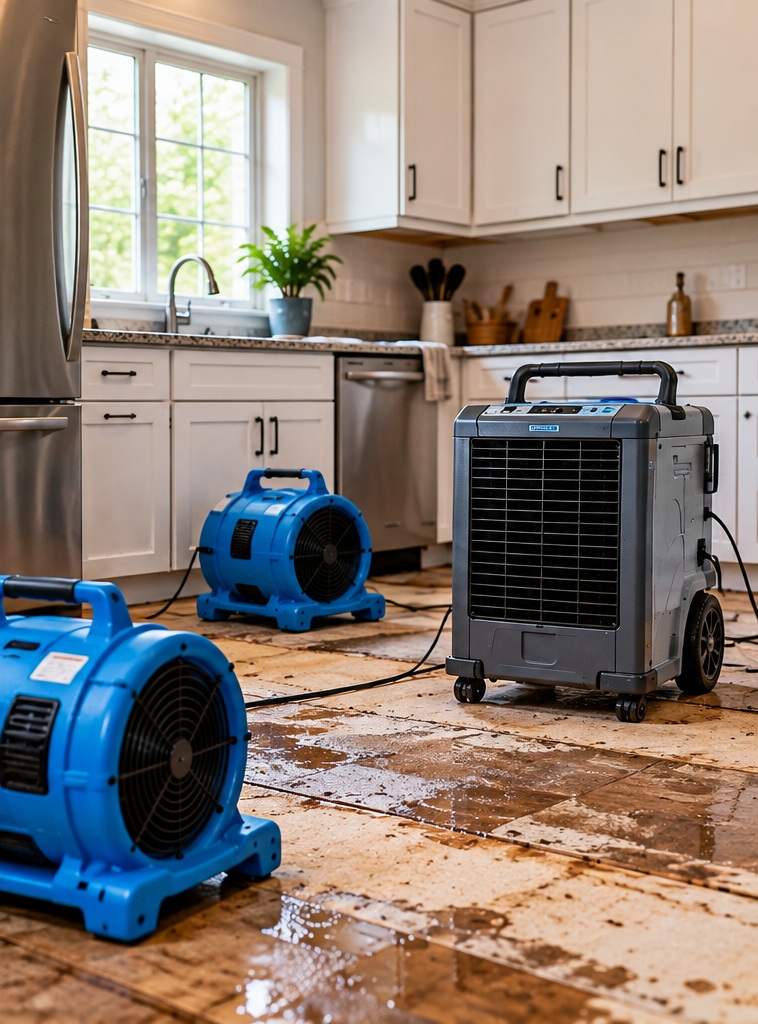
Air movement and dehumidification can help remove moisture from suitable, uncontaminated areas. However, fans should not be used indiscriminately where water may be contaminated, as they can spread harmful particles. Sewage-contaminated water and other hazardous conditions may require specialist remediation.
Drying should be verified rather than judged by appearance alone. A surface may feel dry while the material beneath it remains damp. Moisture measurements in affected framing, subfloors, and other materials can help determine whether drying is complete.
For extensive damage, hidden moisture, or uncertainty about the water source, consider engaging a qualified water-damage restoration professional. Completing repairs before confirming that affected materials are adequately dry can create problems later.
Clean Before Starting Reconstruction
Once the affected areas have been adequately dried and assessed, clean suitable surfaces before rebuilding.
Hard, nonporous surfaces may often be cleaned and, where appropriate, disinfected using products suitable for the material and the type of contamination. Always follow product instructions and avoid mixing cleaning chemicals.
Porous materials that remain contaminated or cannot be adequately cleaned and dried may need to be discarded. This can include severely swollen cabinet components, saturated insulation, and water-damaged items stored under the sink.
Appliances also require attention. A dishwasher or refrigerator that has been exposed to water should be inspected before being returned to service. If water may have reached electrical components, have the appliance checked by a qualified technician rather than testing it yourself.
Plan the Rebuild to Reduce Future Risk
- Install suitable leak detection. Water alarms beneath the sink, behind the refrigerator, and near the dishwasher can alert you to leaks before they spread. Where appropriate, an automatic water shutoff system may provide additional protection.
- Inspect supply lines regularly. Check dishwasher and refrigerator water connections for corrosion, kinks, deterioration, and signs of leakage. Use manufacturer-approved replacement hoses and fittings, and replace worn components according to the manufacturer’s recommendations.
- Make shutoff valves accessible. Valves that are difficult to reach can delay action during an emergency. Consider accessibility when planning cabinetry and appliance placement.
- Choose materials carefully. Select cabinet construction, flooring, and finishes that suit the kitchen’s exposure to moisture and your maintenance needs. No material is completely immune to water damage, so installation quality and prompt leak detection remain important.
- Keep plumbing areas visible. Avoid overcrowding the cabinet beneath the sink. Leaving space around plumbing connections makes it easier to spot drips, inspect fittings, and respond quickly when a problem develops.
These improvements do not require a complete kitchen redesign. Often, the most effective preventive measures focus on the sink, dishwasher, refrigerator water line, and other connections that can leak without immediate notice.
Common Mistakes to Avoid
One common mistake is rebuilding too quickly. Replacing cabinets or flooring before hidden moisture has been addressed can conceal an ongoing problem.
Another is assuming that all materials can be saved if their surfaces appear dry. Swollen boards, damaged insulation, and contaminated porous materials may require removal rather than cosmetic repair.
It is also important not to overlook the source of the leak. Replacing a damaged cabinet without repairing the faulty connection or addressing the underlying plumbing problem leaves the kitchen vulnerable to another incident.
Finally, avoid treating every water-damage situation in the same way. Clean water from a supply line may present different risks from water containing sewage or other contaminants. The appropriate cleaning, protective equipment, and restoration process depend on the circumstances.
A Practical Kitchen Leak Recovery Checklist
- Stopped the source of the leak and addressed any electrical hazards.
- Documented the damage and retained relevant records.
- Inspected cabinets, flooring, subfloors, walls, and insulation where water may have travelled.
- Removed materials that cannot be safely restored.
- Verified that affected materials are adequately dry.
- Cleaned suitable surfaces using appropriate methods.
- Had water-exposed appliances checked when necessary.
- Repaired the original plumbing or appliance fault.
- Checked that leak detection and shutoff arrangements are suitable.
- Confirmed that reconstruction will not conceal unresolved moisture or damage.
Final Thoughts
A kitchen leak does not always mean that the entire room needs to be replaced. Some materials can be restored, while others may require removal because of swelling, contamination, or structural deterioration. The right decision depends on the extent of the damage and whether the affected materials can be safely dried and repaired.
The most reliable approach is to stop the source, assess the damage, dry and verify affected areas, and rebuild only when the conditions are suitable. Adding accessible shutoff valves, regular plumbing inspections, and leak detection can also help reduce the impact of a future failure.
Taking the time to complete each stage properly helps protect the rebuilt kitchen and reduces the risk of repeating the same repairs.
About the Author
James Carter is part of the team at Water Damage Connect, a 24/7 emergency water damage restoration network headquartered in Miami, FL.