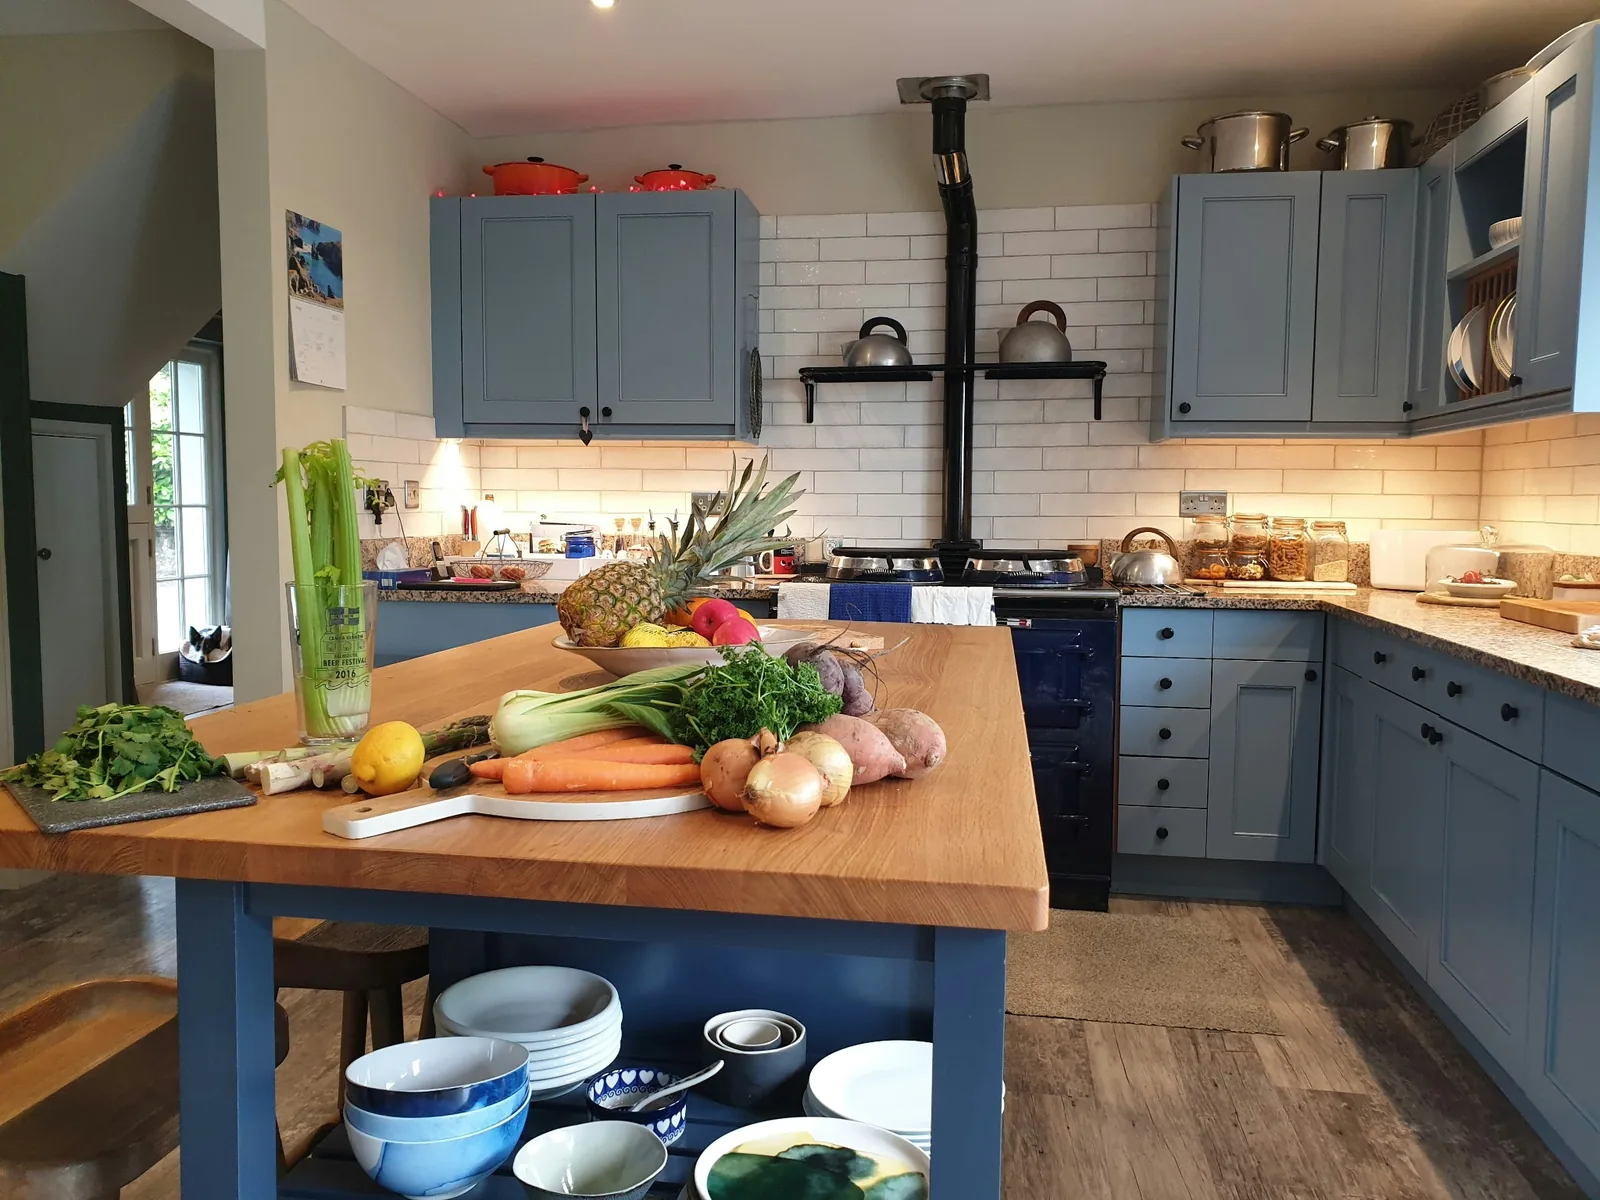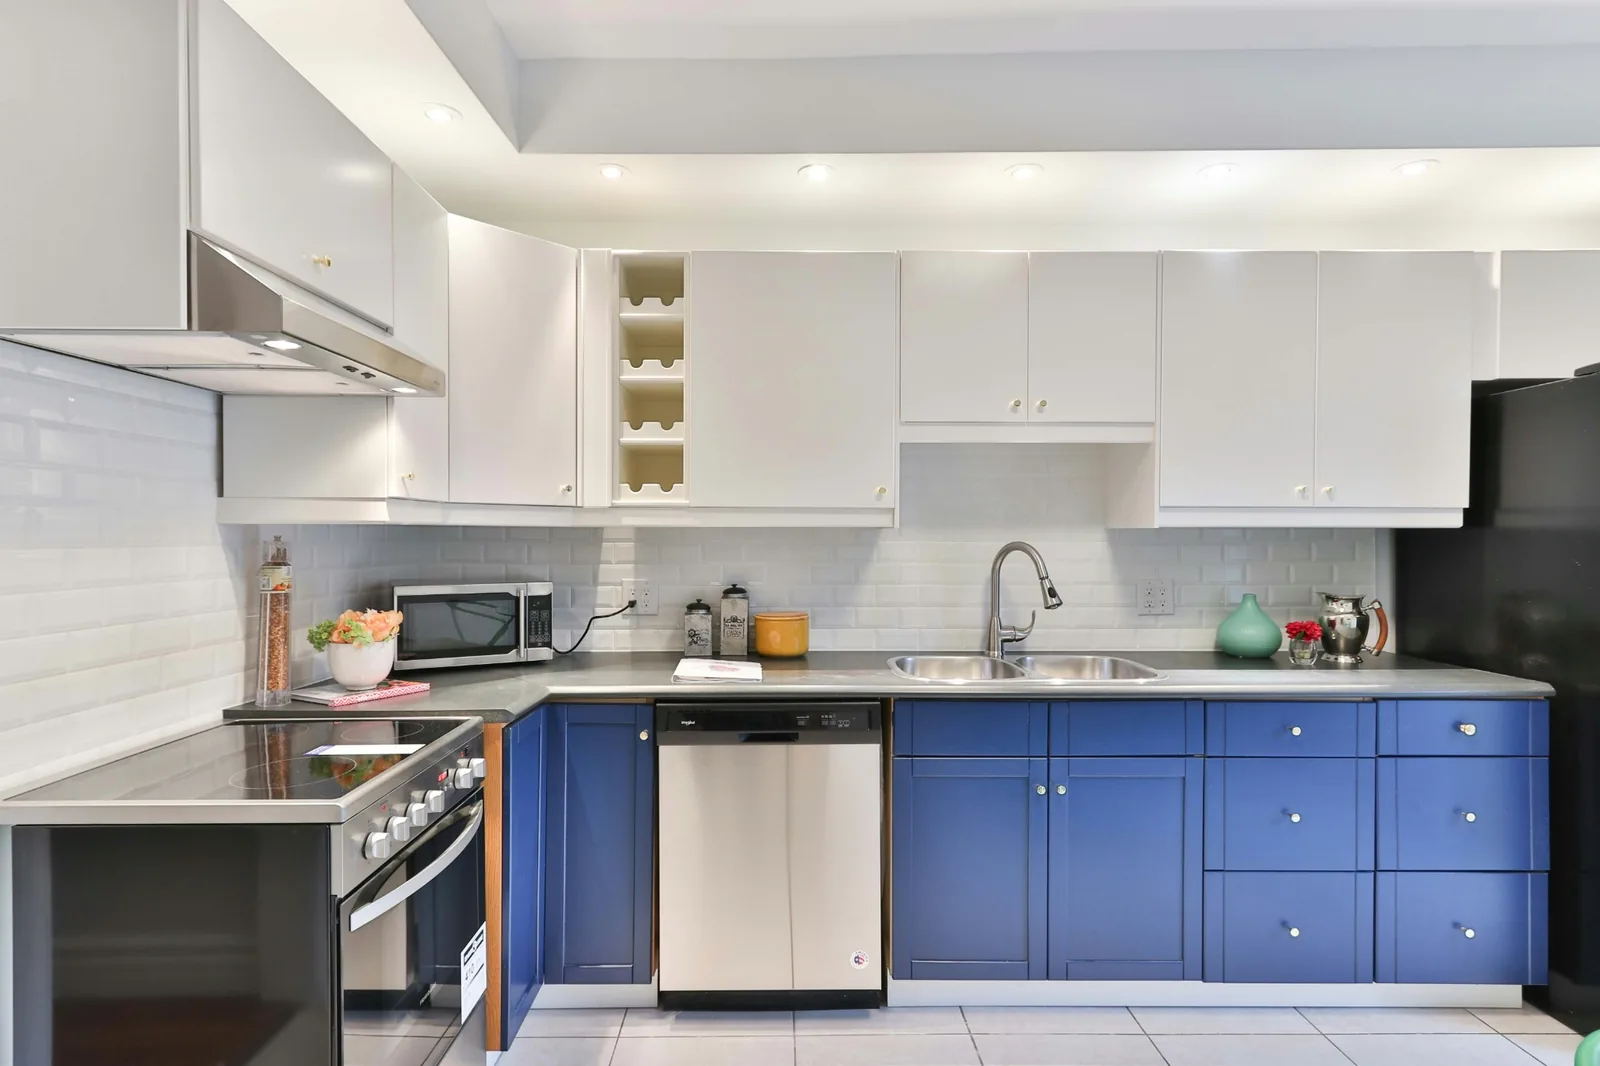
Most kitchens that feel hard to cook in are not too small, and they do not need a renovation. The problem is usually the distance between the areas where you perform different kitchen tasks. The fridge sits on one wall, the sink on another, and the stove across the room, while the knives live in a drawer three steps from the cutting board. Every meal becomes a series of short trips.
Workflow can be fixed without buying anything new. The fixes below start with how you move, then where things live, and only then what you store. Most can be done in a single weekend, and none needs a contractor.
Map Your Kitchen Triangle Before Moving Anything
Every kitchen has three anchor points: the fridge, the sink, and the stove. Many everyday kitchen tasks involve moving between these three areas — from the fridge to the sink to wash ingredients, from the sink to the stove to cook, and from the stove back to the sink to clean.
Before moving a single item, identify the points where your workflow becomes inefficient. Watch for three problems. First, backtracking: you cross the same spot twice, like carrying a pot of water from the sink to the stove and walking back for the lid. Second, crossing your own path: the route from the fridge to the stove cuts through the route to the bin. Third, collisions: one person at the sink blocks the fridge door, or the oven door opens into the main walkway.
Test it with one familiar meal — pasta, a stir-fry, anything you could make without a recipe — and keep a notepad on the counter. Mark every time you retrace your steps, wait for someone to move, or walk to the far side of the kitchen for a daily item. One meal usually exposes the worst two or three friction points.
Zone the Kitchen by Task, Not by Cabinet
Cabinets encourage storing things by size: all the bowls together, all the pans together. Cooking works better when things are stored by task. Build three zones around the three anchor points, and put everything a zone needs inside it.
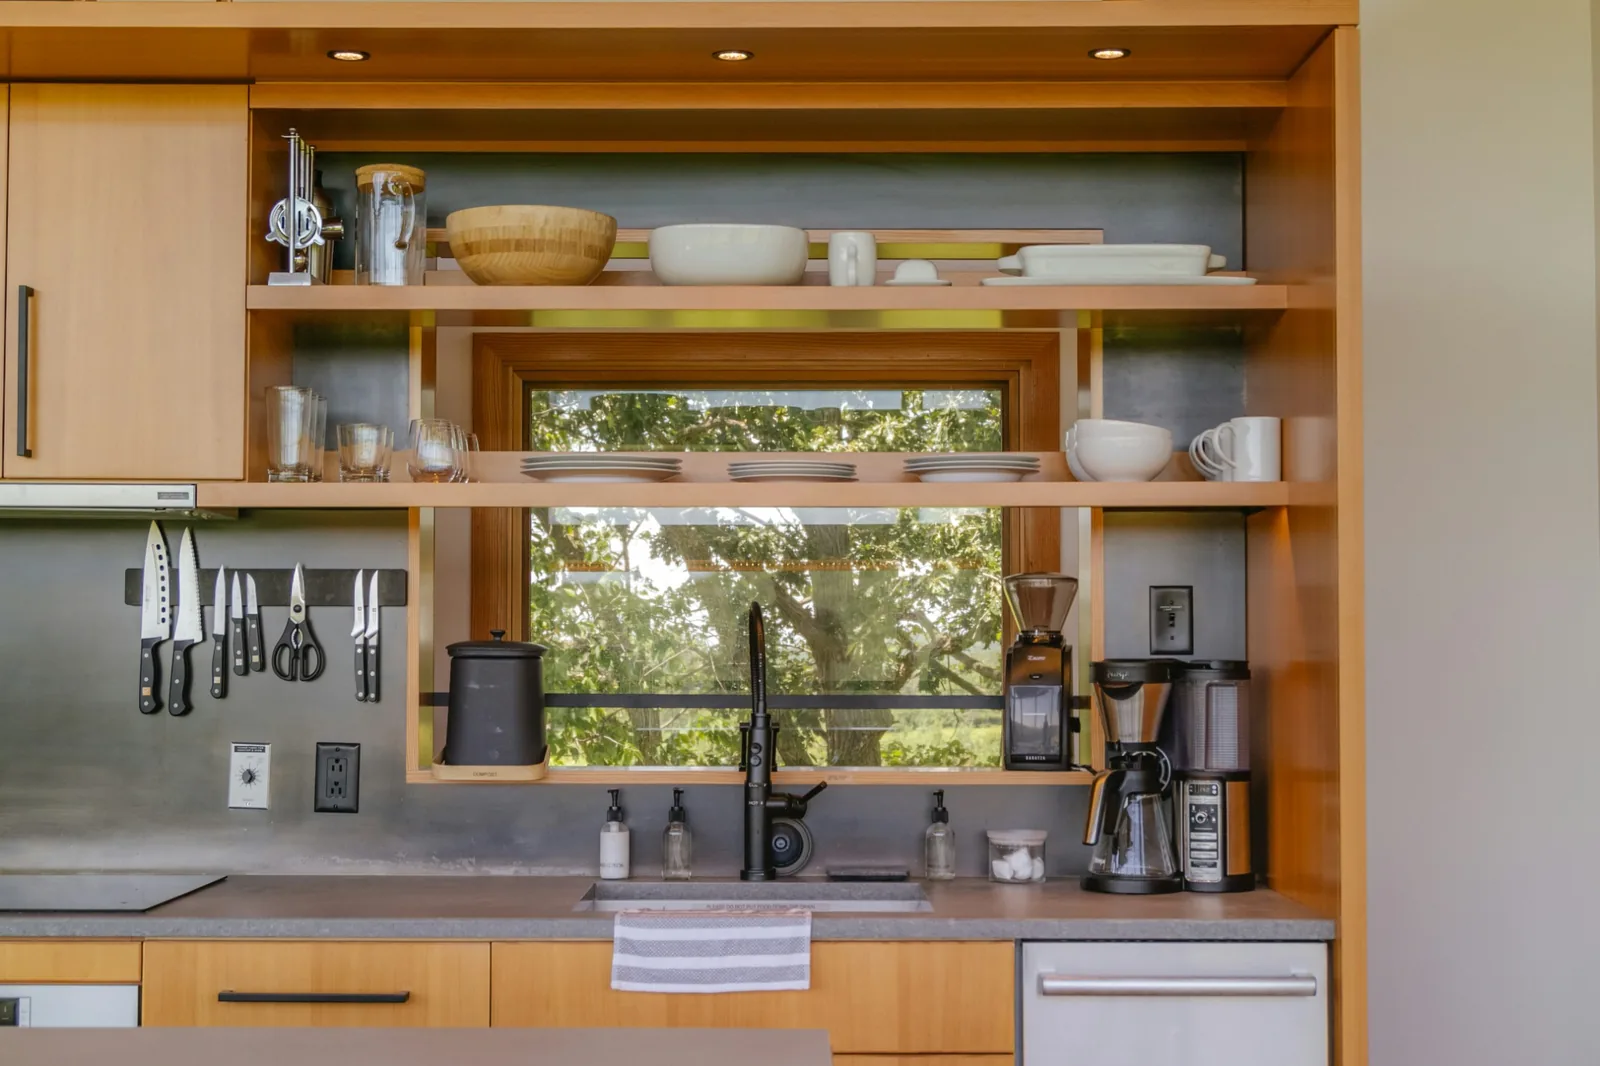
The prep zone sits next to the sink, with a clear stretch of counter. It holds knives, cutting boards, mixing bowls, a peeler, and a small bin for scraps. Aim for a clear stretch at least wide enough for two cutting boards side by side, so you can chop and assemble without shuffling things around.
The cooking zone hugs the stove. It holds the pans you actually use, spatulas, tongs, cooking oils, salt, pepper, and the spices you reach for every day. The test is simple: standing at the stove, you should reach the pan, the spatula, and the oil without taking a step. If the everyday spices live across the room, they are in the wrong place.
The clean-up zone sits at the sink: dish soap, sponge, drying towels, and the bin. Dirty things should travel the shortest possible distance.
Then sort everyday from occasional. Items you used in the last week earn a front-row spot at eye or hand level. Items you use only a few times a year — such as a bread maker, turkey roaster or large stockpot — can be stored on a high shelf or in a less accessible cabinet. That corner cabinet is not wasted space; it is exactly where rarely used things belong.
Storage Fixes That Cut the Most Steps
Start by relocating, not by buying. Move the items you use most frequently to their appropriate zones before spending money on any organiser. Most storage problems are location problems in disguise: a drawer that never closes is often holding things that belong somewhere else.
Use vertical space before adding containers. Ladles, measuring cups, and tongs hang well from a rail or hooks inside a cabinet door or on a bare stretch of wall. Lids, baking trays, and cutting boards store best on their sides, standing upright like books, instead of stacked flat where the one you want is always at the bottom. A shelf riser inside a deep cabinet creates a second level for plates or mugs.
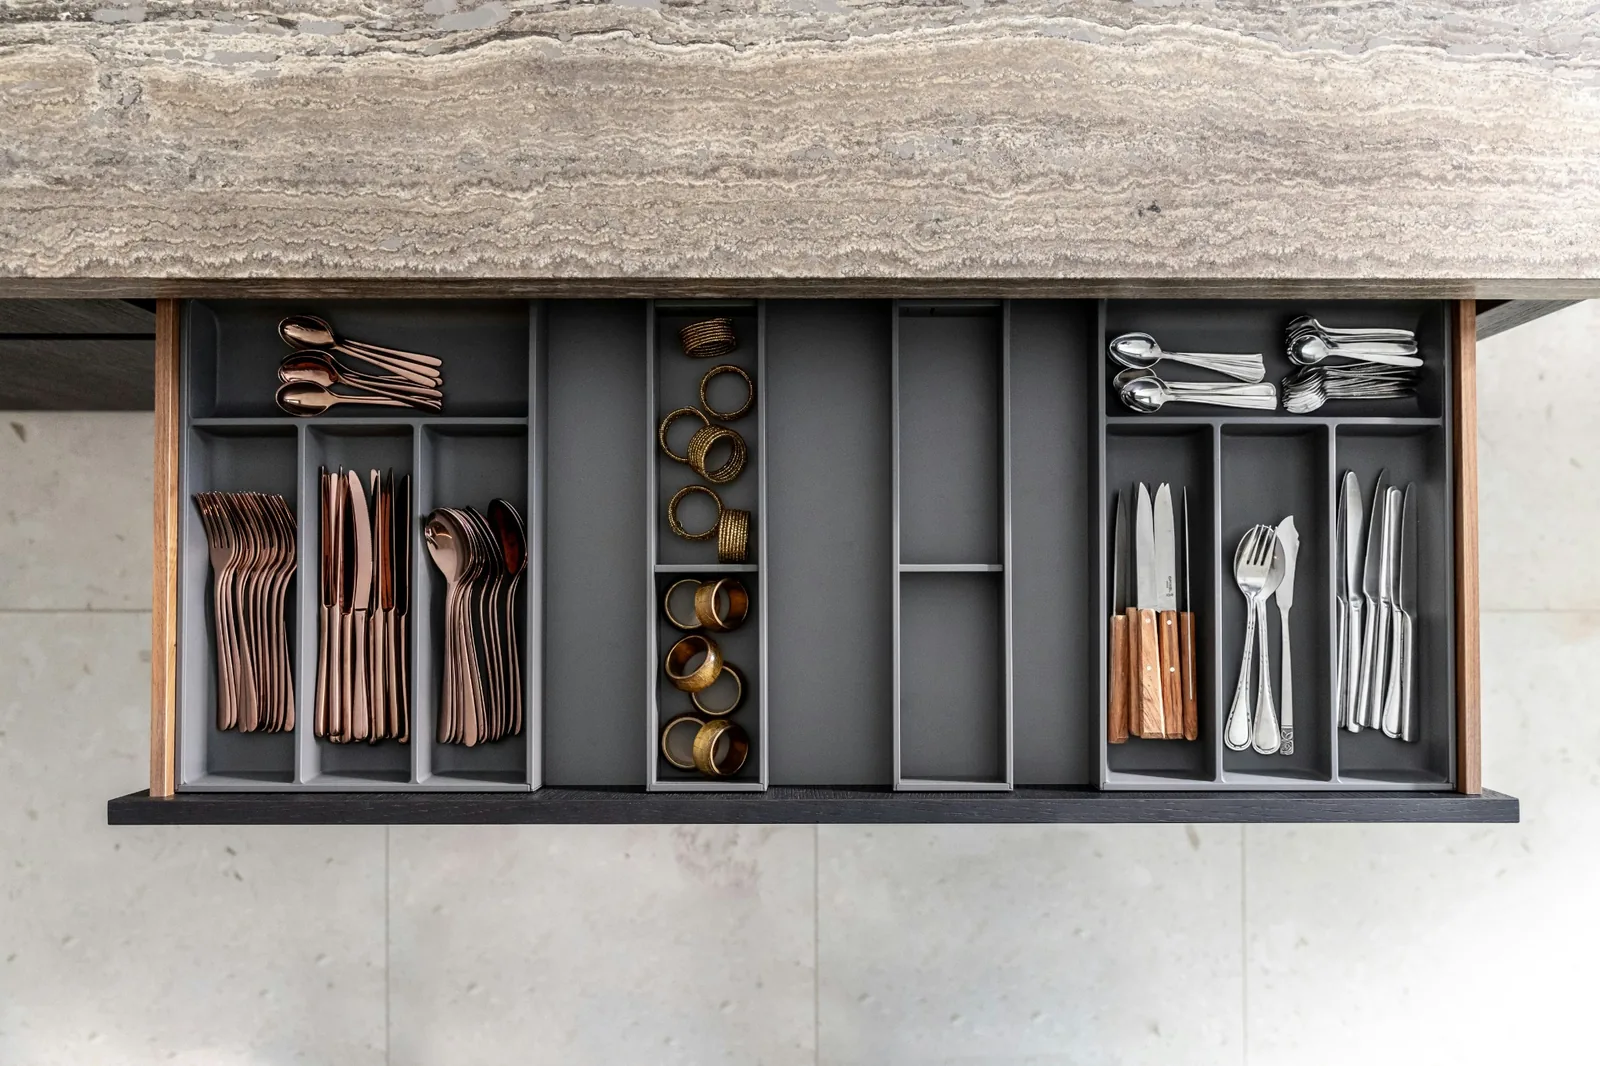
Give every category a designated storage place. Drawer dividers work when each divider holds one thing: knives in one slot, peelers and scissors in another. The rule that keeps it working is simple: every item returns to the same spot, every time. Make the spots obvious enough that anyone in the house can follow them.
In a small kitchen, a rolling cart earns its floor space. It parks against the wall when you are not cooking and rolls to the counter when you are, holding the bowls or prep tools that have no drawer to call home. Only what you used today stays out overnight. A counter with nothing on it is not empty; it is ready.
Lighting and Clear Counters: The Two Cheap Multipliers
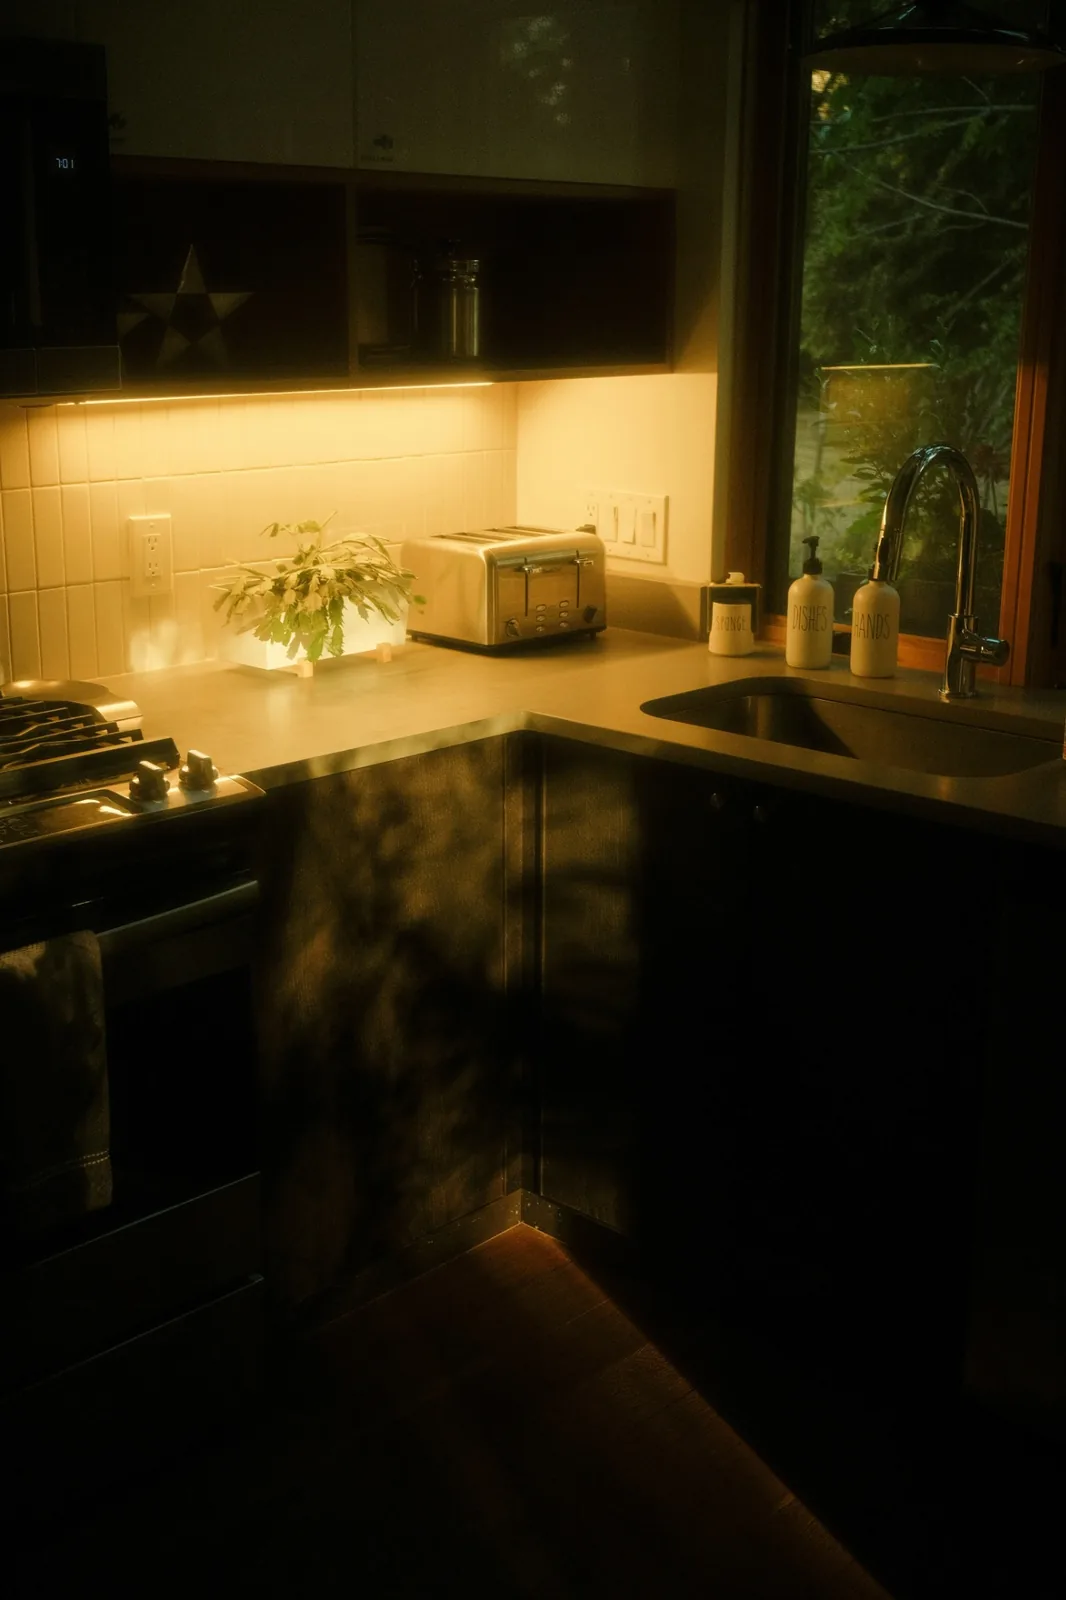
A lit prep area changes more than a new gadget. When you can see what you are chopping, read a recipe without leaning in, and spot a spill the moment it happens, the whole meal goes faster. If the main prep counter sits in shadow, fix that first: a plug-in light strip under the cabinet above the counter, or a small lamp at the back of the counter, is usually enough. Put the light where the work happens.
Then protect the counter. The rule is simple: if an appliance was not used in the last week, it does not live on the counter. The kettle or coffee maker that runs every morning earns its spot. The blender, food processor, and stand mixer go in a cabinet and come out when needed. Counters are for working, not for displaying everything you own.
A One-Weekend Plan
Saturday morning, map the triangle. Cook one meal with the notepad on the counter and mark every backtrack, then relocate the daily items: knives and boards to the prep zone, pans and spices to the cooking zone, soap and towels to the sink. Saturday afternoon, fit the drawer dividers, stand the lids and trays upright, and give every category its one landing spot.
Sunday, zone the counters and apply the clear-counter rule: everything that was not used in the last week goes into a cabinet or up high. Add light over the prep area if it sits in shadow, and roll the cart into its parking spot.
What should change by Monday? Fewer steps per meal, because the things you need are where the work happens. Faster clean-up, because everything has a home and nothing crosses the kitchen twice. And a kitchen that feels bigger without moving a single wall.
Fix the workflow first and shop second. Buy an organiser only after you have improved the layout. That way, you will know exactly what you need and can spend your money on a solution that genuinely makes cooking easier.