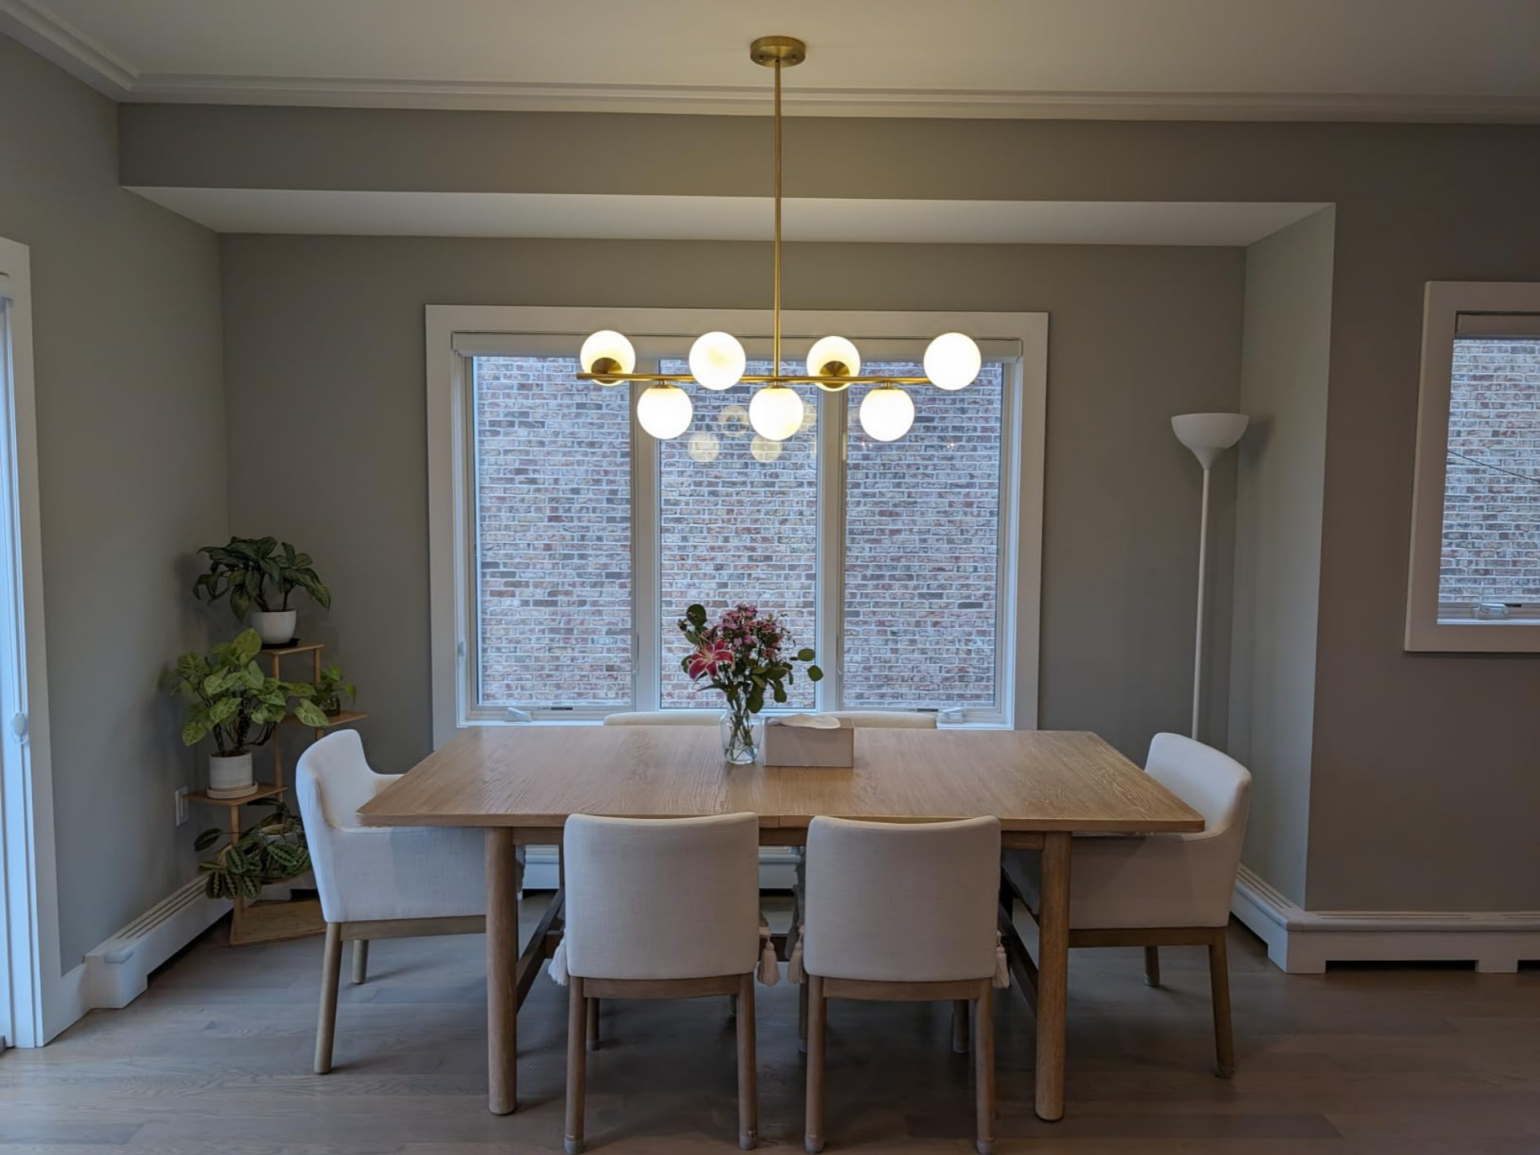
Choose Your Table Size Before Choosing Your Dining Room Chandelier
Before choosing a chandelier style, work out the size. The fixture should be in proportion to your dining table, and the table size depends on the space available in the room.
To get the chandelier size right, start with a table that fits the room. Measure the dining room’s length and width, then allow about 36–40 in (91.4–101.6 cm) from the table edge to a wall or sideboard so chairs can pull out. Where people need to walk behind seated guests, try allowing 42–48 in (106.7–121.9 cm). For each diner, start with about 24 in (61.0 cm) of table-edge width and 16 in (40.6 cm) of tabletop depth for a place setting. Adjust for chair width and shared serving dishes to keep the dining area comfortable.
How to Choose the Right Chandelier Size
Once you have settled on the table dimensions, you can choose a suitable chandelier size. Common shapes include round, elongated and linear designs. The suggestions below offer a starting point for matching the fixture to the table, rather than a universal rule.
Round and Square Dining Tables
A round chandelier usually works well with either shape. Use the diameter of a round table or the side length of a square table, and start with a fixture measuring one-half to two-thirds of that dimension. If you want a vase or centerpiece to stand out too, begin at the smaller end of the range. If you prefer a branching silhouette with arms that spread outward, include larger options in your shortlist.
| Round table diameter | Suggested chandelier diameter | Square table side length | Suggested chandelier diameter |
|---|---|---|---|
| 36 in (91.4 cm) | 18–24 in (45.7–61.0 cm) | 36 in (91.4 cm) | 18–24 in (45.7–61.0 cm) |
| 42 in (106.7 cm) | 21–28 in (53.3–71.1 cm) | 42 in (106.7 cm) | 21–28 in (53.3–71.1 cm) |
| 48 in (121.9 cm) | 24–32 in (61.0–81.3 cm) | 48 in (121.9 cm) | 24–32 in (61.0–81.3 cm) |
| 54 in (137.2 cm) | 27–36 in (68.6–91.4 cm) | 54 in (137.2 cm) | 27–36 in (68.6–91.4 cm) |
| 60 in (152.4 cm) | 30–40 in (76.2–101.6 cm) | 60 in (152.4 cm) | 30–40 in (76.2–101.6 cm) |
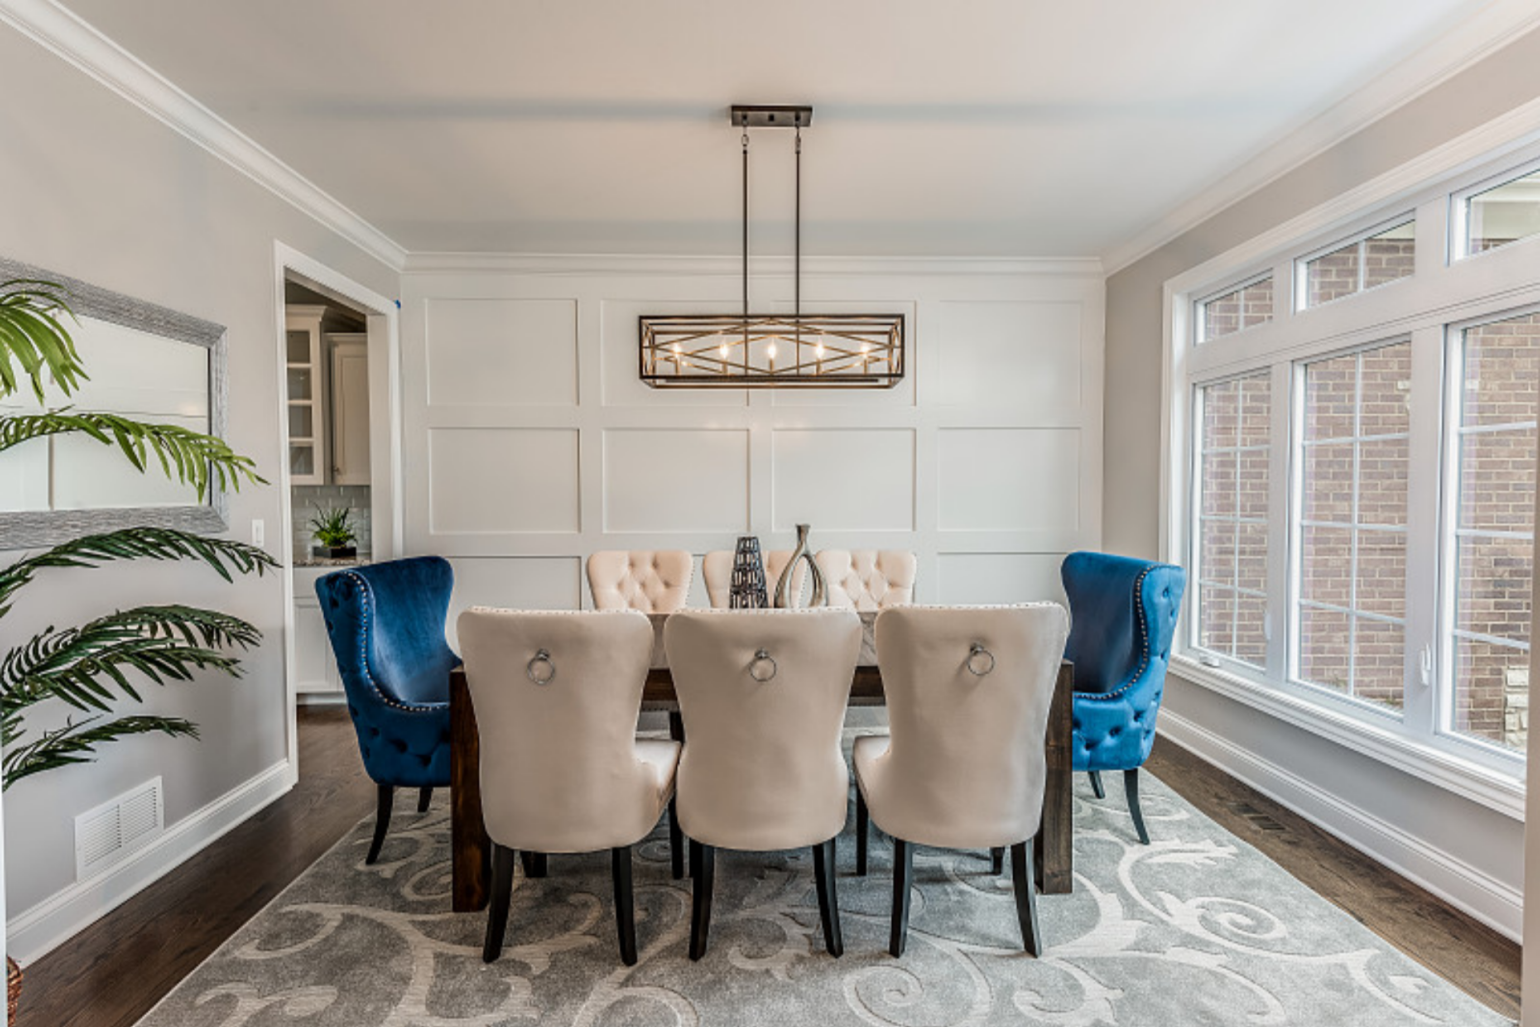
An elongated or linear chandelier can also work over a round table, but consider both its proportions and its light distribution. An overly long fixture may extend beyond the tabletop, while a narrow beam may leave the table edges dim. Even illumination also depends on the shades, beam angles and other lighting in the room; the fixture’s shape alone does not determine the result.
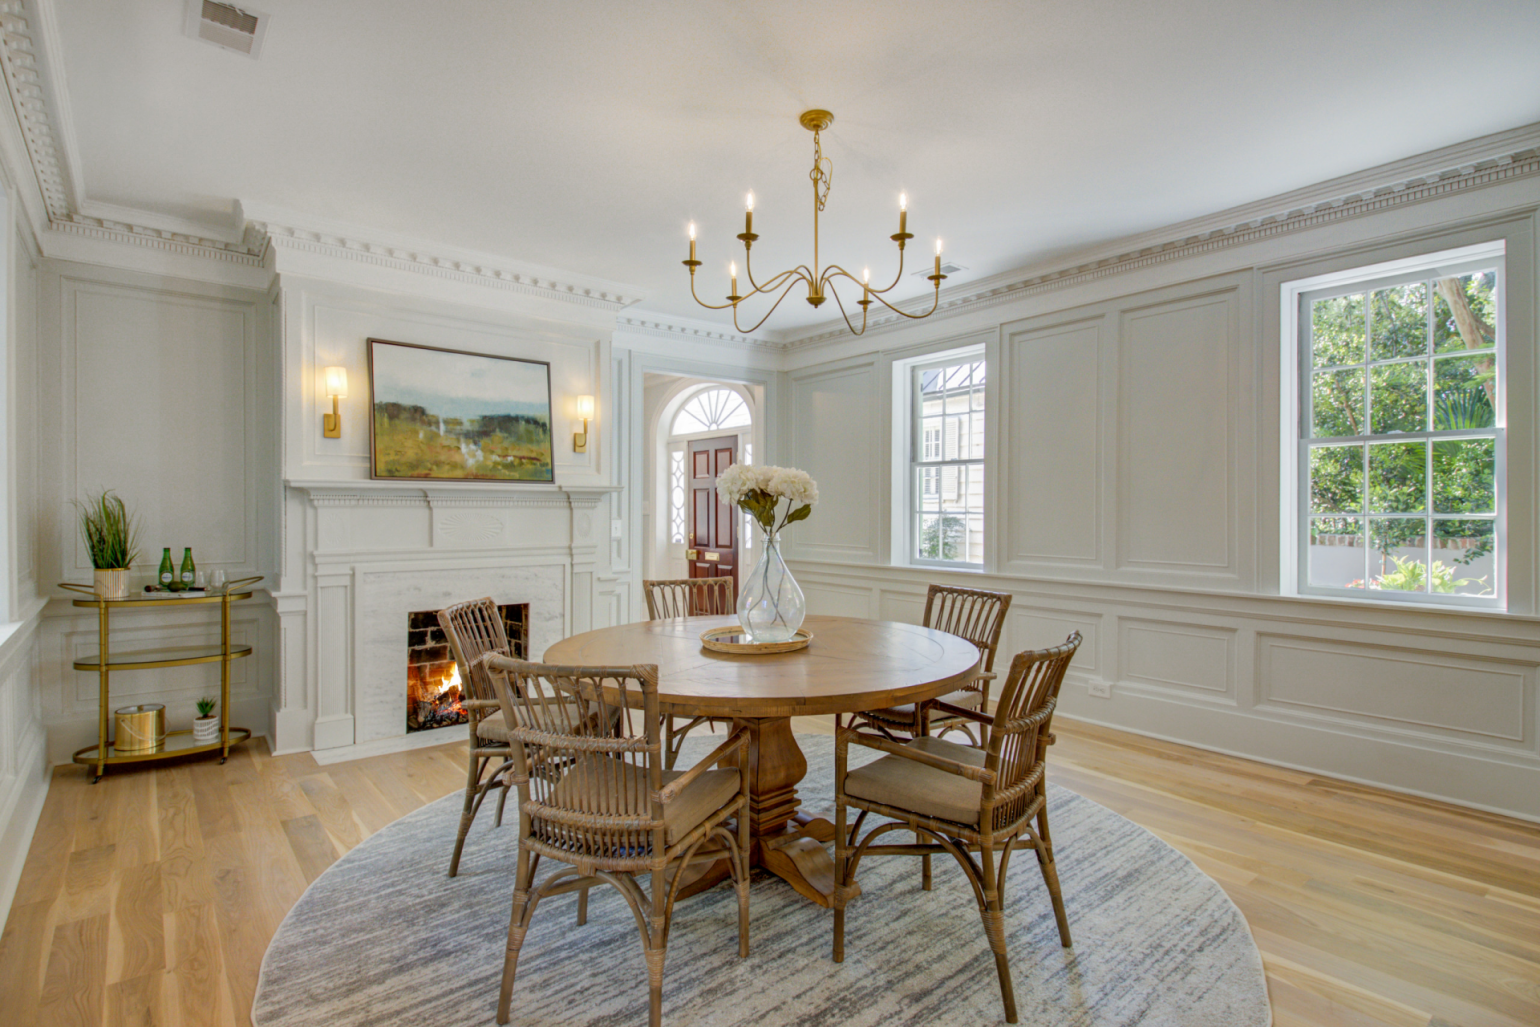
Rectangular and Oval Dining Tables
Elongated fixtures and linear chandeliers usually suit these tables, with the fixture running along the table’s long axis. The table below uses one-half to two-thirds of the table length as a starting point for a noticeable presence above the table. A visually heavy stone fixture or a dense crystal design may work better at a shorter length.
| Rectangular table (length × width) | Suggested chandelier length | Oval table (length × widest point) | Suggested chandelier length |
|---|---|---|---|
| 48 × 30 in (121.9 × 76.2 cm) | 24–32 in (61.0–81.3 cm) | 60 × 36 in (152.4 × 91.4 cm) | 30–40 in (76.2–101.6 cm) |
| 60 × 36 in (152.4 × 91.4 cm) | 30–40 in (76.2–101.6 cm) | 66 × 38 in (167.6 × 96.5 cm) | 33–44 in (83.8–111.8 cm) |
| 72 × 38 in (182.9 × 96.5 cm) | 36–48 in (91.4–121.9 cm) | 72 × 40 in (182.9 × 101.6 cm) | 36–48 in (91.4–121.9 cm) |
| 84 × 42 in (213.4 × 106.7 cm) | 42–56 in (106.7–142.2 cm) | 84 × 42 in (213.4 × 106.7 cm) | 42–56 in (106.7–142.2 cm) |
| 96 × 44 in (243.8 × 111.8 cm) | 48–64 in (121.9–162.6 cm) | 96 × 44 in (243.8 × 111.8 cm) | 48–64 in (121.9–162.6 cm) |
A rectangular table can also work with a round chandelier. For a table measuring 72 × 38 in (182.9 × 96.5 cm), using the shorter side as a starting point gives a fixture diameter of about 19–25.3 in (48.3–64.3 cm). To ensure the end seats receive enough light, also consider the light-source arrangement, shade openings and existing room lighting.
How Much Space Is Left Between the Fixture and the Table Edges?
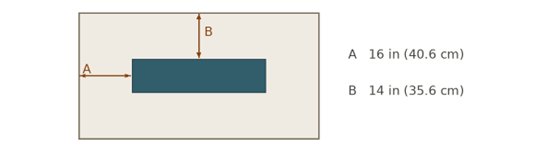
Imagine the fixture’s outer outline as a paper shape laid on the tabletop. With the fixture centred, subtract its dimension from the table dimension in the same direction, then divide by two to find the clearance on each side. Include any projecting arms, glass or crystal when measuring the fixture.
- Rectangular table: clearance at each end = (table length − fixture length) ÷ 2; clearance along each side = (table width − fixture width) ÷ 2.
- Round table with a round fixture: when both are centered on the same point, clearance on any side = (table diameter − fixture diameter) ÷ 2.
Top-view example: A 72 × 38 in (182.9 × 96.5 cm) table with a 40 × 10 in (101.6 × 25.4 cm) fixture leaves 16 in (40.6 cm) at each end and 14 in (35.6 cm) along each side. These measurements describe the fixture’s footprint only; actual illumination also depends on how the shades direct the light.
Chandelier Height Above the Table
Measure vertically from the tabletop to the fixture’s lowest point, and start with a gap of 30–36 in (76.2–91.4 cm). The lowest point may be the final hanging crystal. Ask a family member to sit opposite you in your usual dining positions. Check that you can see each other’s faces clearly and that looking up does not put a bright bulb directly in your line of sight.
Overall Hanging Height for Five Ceiling Heights
The table below assumes a dining table height of 30 in (76.2 cm) for comparison. The tabletop clearances are examples to try, not a requirement to raise the fixture as the ceiling gets higher. Each overall hanging height is calculated from the clearance in that row and includes the canopy, connectors, downrod or chain, and the entire fixture body.
Overall hanging height = finished ceiling height at the mounting point − actual table height − tabletop-to-fixture clearance. Convert all three measurements to the same unit before subtracting.
| Ceiling height | Example clearance above tabletop | Overall hanging height |
|---|---|---|
| 8 ft (2.44 m) | 30–32 in (76.2–81.3 cm) | 34–36 in (86.4–91.4 cm) |
| 9 ft (2.74 m) | 32–34 in (81.3–86.4 cm) | 44–46 in (111.8–116.8 cm) |
| 10 ft (3.05 m) | 34–36 in (86.4–91.4 cm) | 54–56 in (137.2–142.2 cm) |
| 12 ft (3.66 m) | 34–36 in (86.4–91.4 cm) | 78–80 in (198.1–203.2 cm) |
| 15 ft (4.57 m) | 34–36 in (86.4–91.4 cm) | 114–116 in (289.6–294.6 cm) |
For example, in a room with a 9 ft (2.74 m) ceiling and a 30 in (76.2 cm) table, a gap of 33 in (83.8 cm) above the tabletop requires an overall drop of 45 in (114.3 cm). Before ordering, ask the manufacturer to show this full dimension on the drawing and confirm that the supplied downrod sections can achieve it.
Low, High and Sloped Ceilings
- Low ceilings: Check the minimum installation height first. If you like the design but the fixture body is too tall, compare shallower designs, manufacturer-supplied shorter rods or semi-flush fixtures.
- High ceilings: Longer downrods, chains or deeper tiered fixtures can fill the space above the table. If you need an extended drop, confirm which suspension components are supplied before ordering.
- Sloped or curved ceilings: Measure vertically from the actual mounting point to the floor. Send the ceiling angle or photographs of the curved surface to the manufacturer so they can confirm whether the canopy will fit, the downrod can hang vertically and a compatible adapter is needed.
Finally, place the table and chairs in their everyday positions. Center the fixture over the table as it is normally used, then open nearby cabinet doors to check that they will not hit projecting arms. If the table center and electrical outlet do not align, have the on-site installer check the mounting position and wiring route.
Choosing Materials and Chandelier Finishes
Choose materials to complement the table and the rest of the room. Alabaster, marble and wood highlight natural patterns; glass and crystal offer transparency or sparkle; fabric softens the overall look. Choose a ring, branching, linear or tiered design to suit the table shape and ceiling height, and confirm that its dimensions, weight and suspension method suit the installation.
Once you have chosen the materials, consider the frame’s surface colour, sheen and texture. Brass-tone, matte black and chrome are common chandelier finishes. Brushing creates fine surface lines, while polishing produces brighter reflections. These treatments can be combined with plating or coating processes. When requesting a quote, specify the base material separately from the finish—for example, “steel frame with a brushed brass-tone finish”—so a brass-coloured surface is not mistaken for solid brass.
| Finish option | Coordinating with the table and décor |
|---|---|
| Brass-tone | Can complement walnut, off-white walls or warm-toned stone. Compare brushed or satin finishes for a softer look, or polished finishes for brighter highlights. |
| Matte black | Can echo black window frames, table legs or door handles, with a clear contrast against pale walls and wooden tables. Slender arms generally look lighter. |
| Chrome | Can work with glass tables, cool neutrals or silver-toned hardware. Its reflective surface picks up surrounding colours, so consider how it looks in the room. |
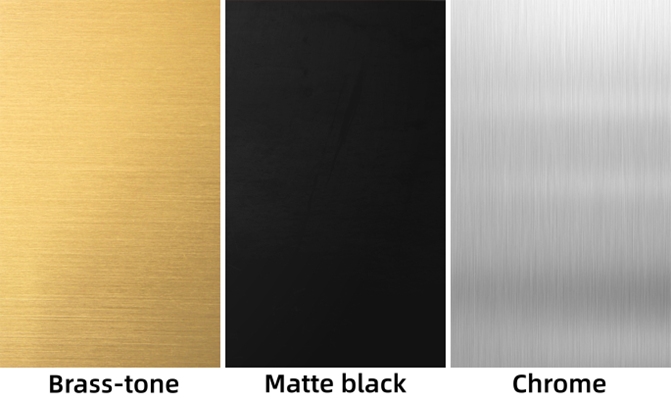
To mix metals, let one finish echo the existing hardware and use another as an accent; every metal surface does not have to match. Look at a physical sample in daylight and under your evening dining lights, comparing its tone, reflectivity and brushing pattern. Warm light may make the metal look different from product photographs, and glossy surfaces reflect nearby wall and furniture colours. Confirm the sample reference, protective coating and cleaning instructions before ordering so the expected result is clearly defined.
Choosing Brightness, Colour Temperature and Colour Rendering for Dining Room Lighting
Brightness: Start with lumens (lm). Four bulbs rated at 450 lm each provide a combined nominal output of 1,800 lm, but shades and light distribution affect how much light reaches the tabletop. Try reading a menu at your everyday setting, then dim the lights and check whether the person opposite you is still clearly visible.
Colour Temperature and Colour Rendering
For a warm evening atmosphere, start by trying 2700 K. If you also read at the table or prefer white crockery to look a little crisper, compare it with 3000 K. Look at a white plate and a few tomato slices under both. If food and skin tones matter to you, prioritise a CRI of 90 or higher; compare R9 values as well if red colour rendering is especially important.
Dimming and Maintenance
Confirm that the bulbs or LED driver are compatible with the installed dimmer, and check for flicker at the lowest setting. If you want the light to become warmer as it dims, choose a product labelled dim-to-warm. Check how to access replacement bulbs or drivers, which spare parts are needed and whether these components can be removed after the fixture is installed.
Before placing a custom order, put the measured table dimensions, finished ceiling height, target position of the fixture’s lowest point and finish sample reference on the approval drawing. Ask the manufacturer to specify the complete fixture weight, mounting points, adjustment range and maintenance access, then have the on-site installer confirm the structural support requirements.
Editorial and Installation Disclaimer
Disclaimer: Measurements are general guidelines; confirm fixture dimensions and installation requirements with the manufacturer. Electrical work and mounting should be handled by a qualified professional.
Contributor disclosure: Written by Xingbin Liu of HEMIAOLANY, a decorative lighting manufacturer in China.